Openers · Toronto
Photo-Eye Sensor Alignment or Replacement in Toronto
There are no sensors at the floor at all, or a previous owner has wired the pair together up beside the motor so the beam never crosses the doorway.
In plain words
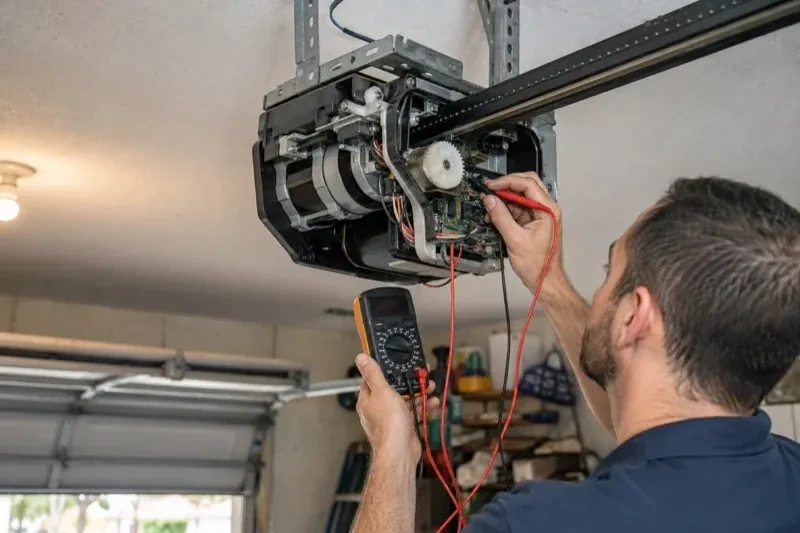
Photo-eye sensor service brings back the invisible beam that runs across the bottom of your doorway and lets the opener close with confidence. A technician clears the path, checks each sensor's indicator, tests the low-voltage wiring back to the head unit, and reads the opener's own diagnostic lights to tell an obstruction from a wiring fault. Brackets are straightened and refastened, lenses cleaned, and the pair aimed at each other at the same height no higher than 15 cm off the floor. If a sensor has failed, a matched pair for that opener family goes in. The visit ends with a beam test and a contact reversal test.
How the visit goesAfter a cold night the door stays open until the garage warms up. There is frost on the sensor lenses and a ridge of salty slush piled against the brackets where the snow blower was parked.
Photo-Eye Sensor Alignment or Replacement
How the visit goes
Brackets and height on both sides
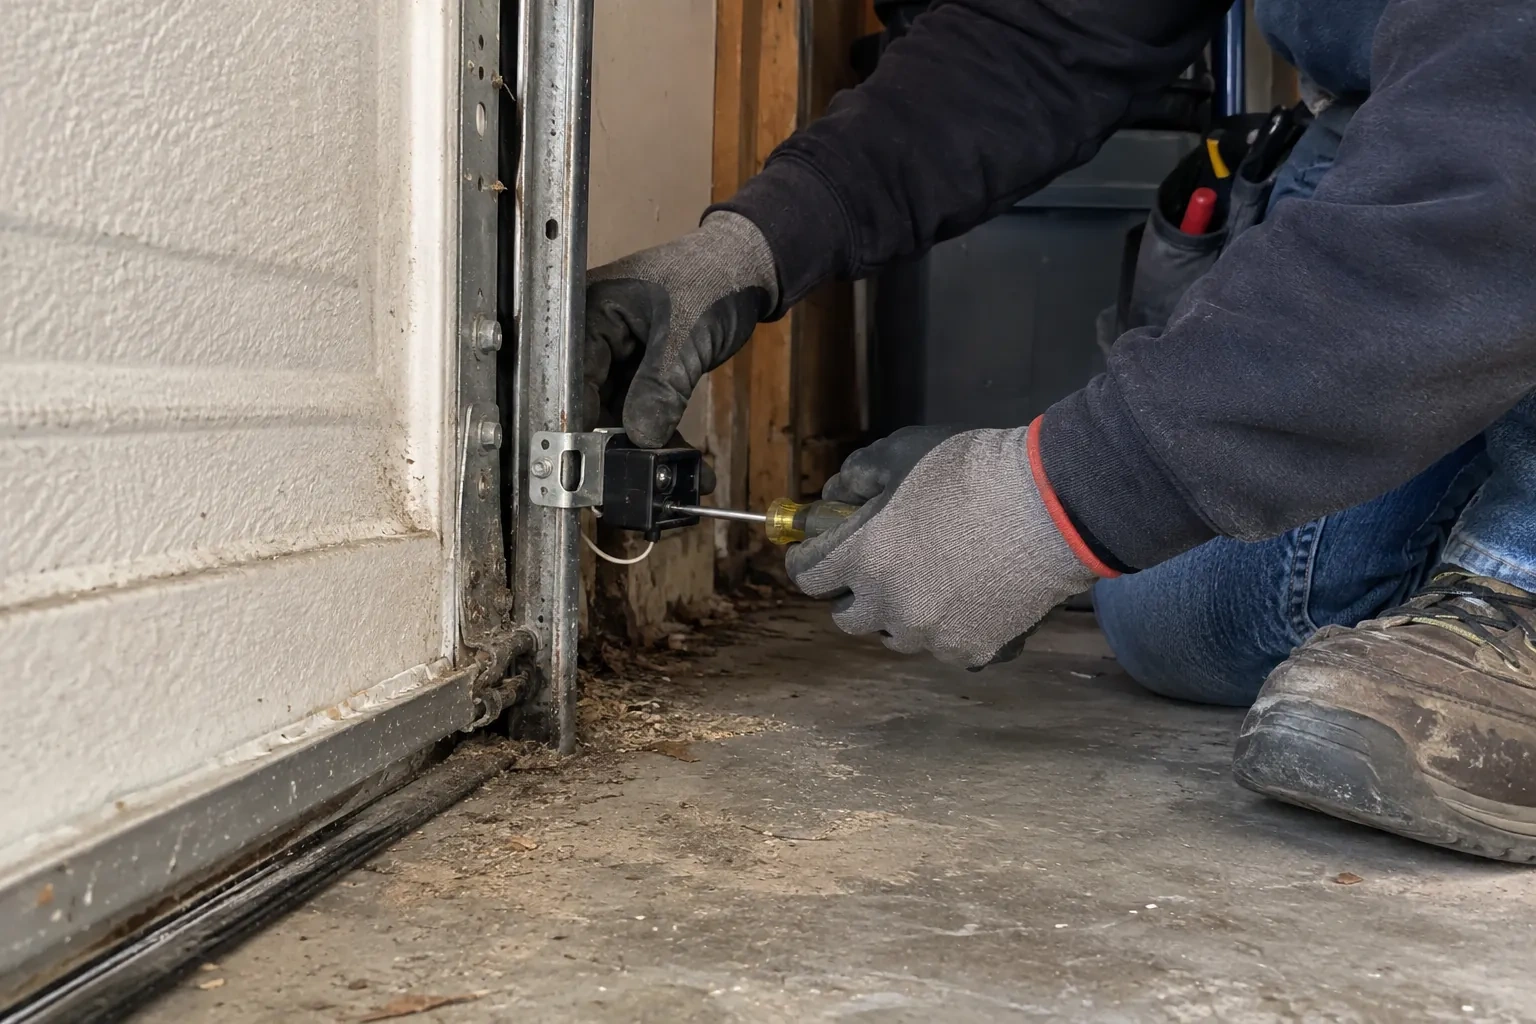
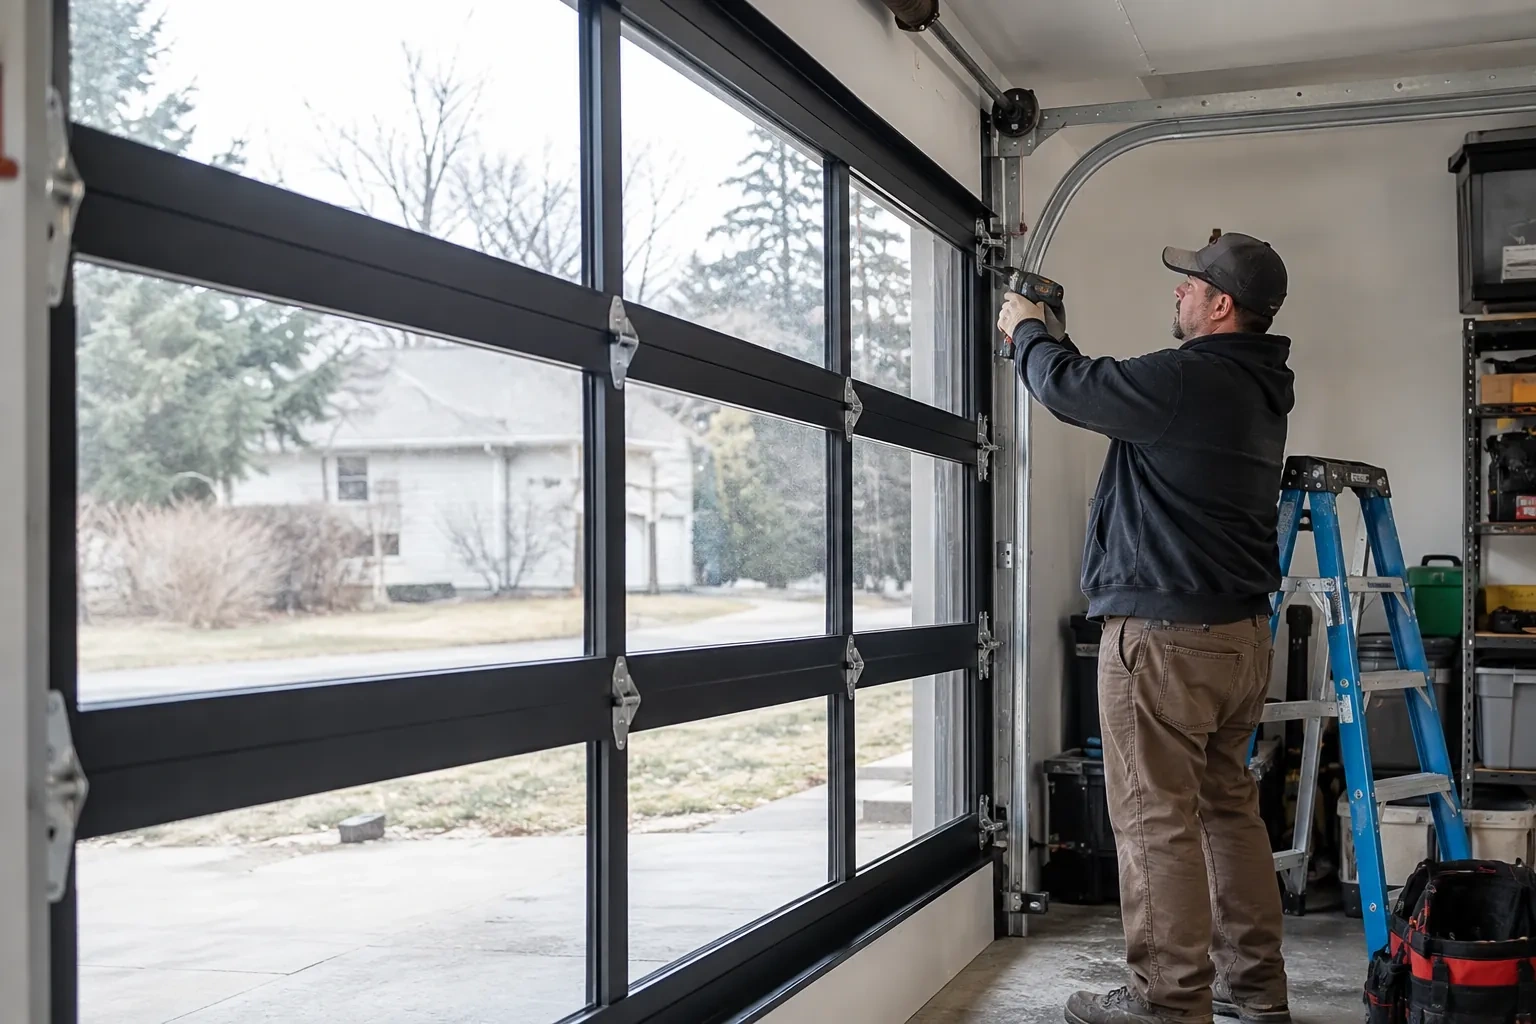
The two sensors have to sit at the same height, level, and facing each other squarely, no higher than about 15 cm (6 in) above the floor so the beam catches a small child or a pet. The technician measures both sides, because a bracket that has slipped a couple of centimetres down a track leg is enough to lose the beam. Each bracket is checked for bends from a bumper or a bin, for loose carriage bolts or wing nuts, and for rust where salt slush has sat against it for winters on end. A bracket screwed to a wall or the floor is checked for anchors that have worked loose.
Resetting the alignment
Alignment is done with the door open and the lights in view. The technician sets both sensors to the same measured height, loosens the wing nut on the receiving side, and turns the sensor a fraction at a time until its indicator changes from dark or flickering to steady. The nut is tightened while the light is watched, because a sensor can drift as the fastener bites, and the sending side is treated the same way. Brackets are checked for play and the wire is re-clipped so it cannot tug the sensor out of line. A steady light on both sides, held through a few door cycles, is the standard.
Winter habits
In the cold months the sensors ask for a little attention. On frosty mornings give a misted lens a moment to clear rather than pressing close over and over, and wipe it with a dry cloth if it does not. Keep salt slush from building up against the brackets, since salt is what corrodes the mounts and terminals over time. Clear snow from just inside the door before closing it, and if the bottom seal has frozen to the slab, free it by hand rather than asking the opener to pull it loose. If the door closes at noon but not at nine, mention it; the low sun may be reaching the receiving eye and a shade sorts that out.
Photo-Eye Sensor Alignment or Replacement
In the van
Wall or floor angle brackets
Track-mount sensor brackets
Matched photo-eye sensor pair
Two-conductor low-voltage wire
Wing nuts and carriage bolts
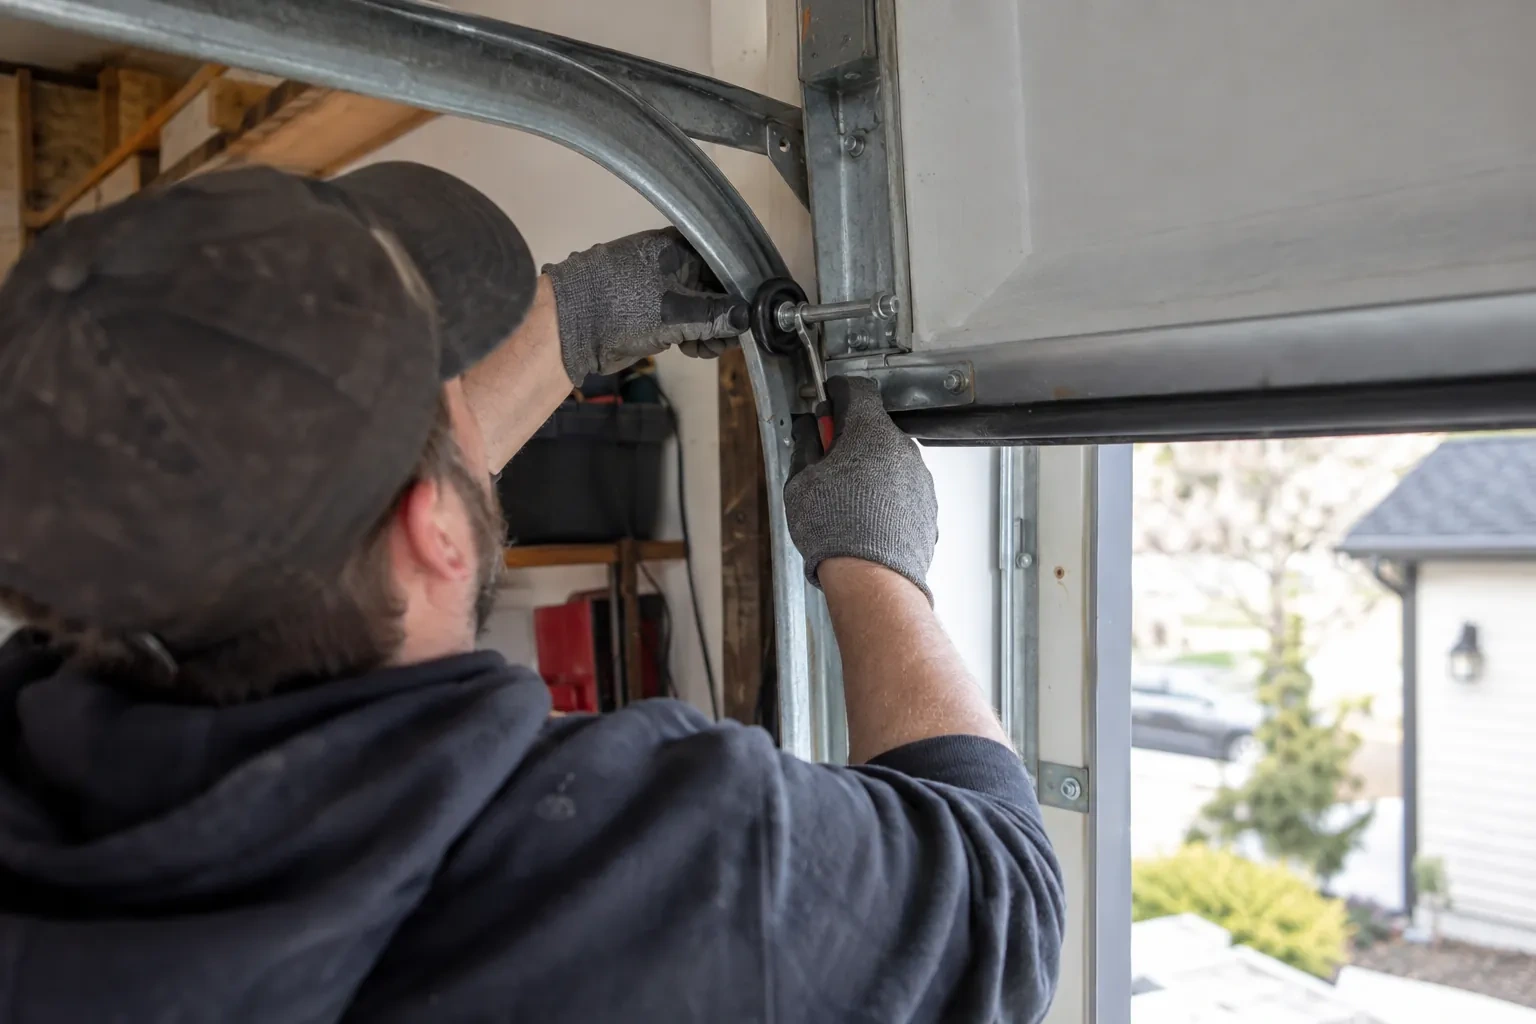
Photo-Eye Sensor Alignment or Replacement
What affects the quote
Number of doors
Each opener has its own sensor pair and wire run, so a double garage with two doors is two sets of checks, two possible pairs and two rounds of testing, quoted per door.
Undoing an earlier shortcut
Sensors taped together beside the motor, mismatched pairs from different generations or a bypassed circuit are put right first, which means new wire down each side and fresh brackets at the doorway.
Type of kit
Some replacement kits contain only the two sensors with connectors, while others include brackets and a full length of wire. The kit that suits the opener and the state of the existing hardware is what is quoted.
What to have ready
- Can you send photographs of both sensors, the head unit label and the wall control?
- Does the opener light flash when you press close, and how many times?
- When did it begin, and what was different that week: a bump, new shelving, a storm, a frost?
Photo-Eye Sensor Alignment or Replacement: questions
QuestionsCan the sensors be mounted on the wall instead of the track?
Track-mounted clips are the preferred, manufacturer-recommended arrangement. A wall-mounted angle bracket is the next choice where the track sits far back from the opening or the clip keeps getting bumped; mounting to the concrete floor is kept as a last resort, used only when the sensor's own instructions allow it. The same rules apply: both sensors at a matched height no higher than about 15 cm, level, facing each other, with the wire secured. Wall mounting sometimes gives a cleaner beam line on older doors with unusual track layouts.
Will the sensors need replacing or just aligning?
Most visits end in alignment, cleaning and bracket work, because the sensors themselves are hardy. Replacement comes into it when a lens has clouded or crazed, when the housing is split or holds water, an indicator stays dark with the wiring proven good, or the pair is from a different generation than the opener and is never recognised. The technician tests before choosing, so the parts list matches what the door needs.
Can cold weather affect the sensors?
It can, in a few ways. Frost or condensation on a lens in an unheated garage dims the beam until it clears. The low winter sun reaches further across the floor and into a receiving eye. Old wire insulation cracks in the cold and shorts. Salt slush builds against brackets and corrodes them and the terminals over the years. Each of those has a straightforward remedy: cleaning, a shade or side swap, a fresh wire run, or brackets set above the slush line.
Related services
- Chain-Drive Opener RepairThe door opens about a third of the way and stops.
- Belt-Drive Opener RepairThe belt looks fine from a distance, but up close the rubber has cracked across the back in dozens of places and, in one spot, you can see the steel cords showing through.
- Garage Door Opener ReplacementThe bedroom above the garage shakes every morning at six when the chain drive fires up.