Openers · Toronto
Smart Garage Controller Setup
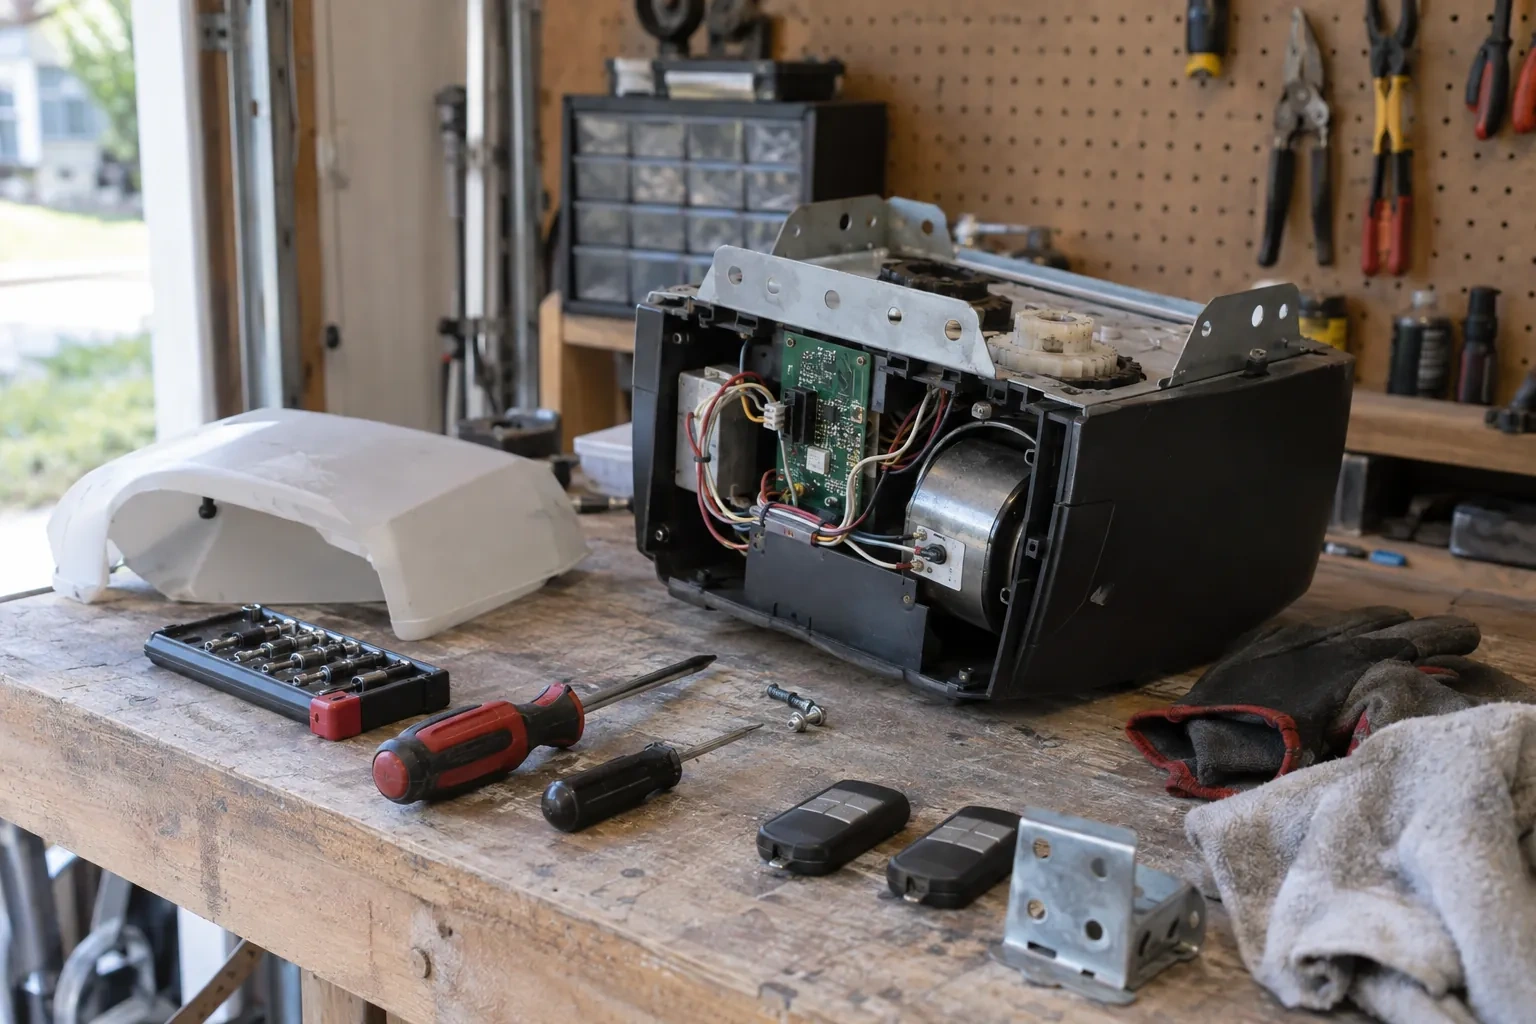
The house came with a controller already screwed to the garage ceiling and a sensor on the door, but the app insists the device belongs to another account.
In plain words
For a household here, the most valuable feature is often the simplest: a message that says the door has been open for ten minutes on a January night. A garage attached to the house shares a wall with living space, and sometimes a water line; a door left up drains heat and invites a frozen pipe. Setup in this climate also means small choices that last: the sensor is mounted the way its own instructions specify, its battery is a lithium cell that tolerates an unheated space, and an auto-close schedule is paired with a left-open alert, since a schedule only attempts the close and does not confirm it finished.
How the visit goesThe house came with a controller already screwed to the garage ceiling and a sensor on the door, but the app insists the device belongs to another account. The seller has moved provinces, the emails go unanswered, and every evening the door still reports to a stranger's phone.
Smart Garage Controller Setup
How the visit goes
Power and a home for the hub
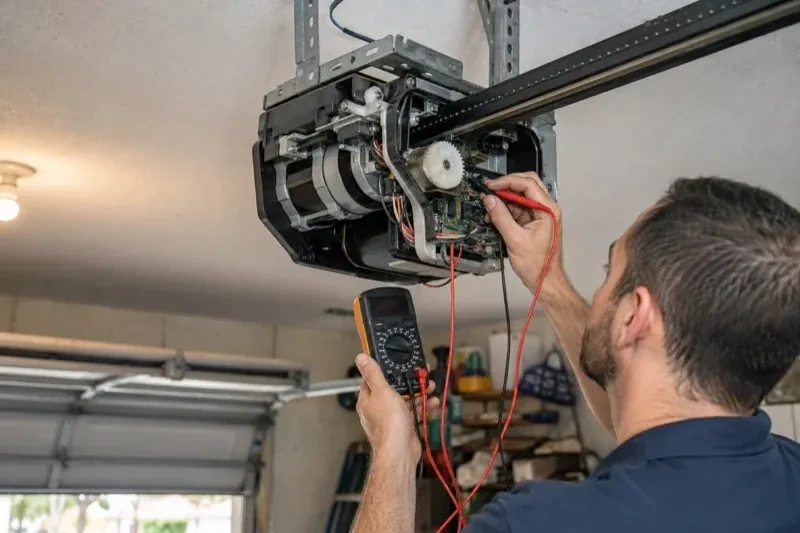
Retrofit hubs draw their power from a plug-in adapter, so the technician looks at the ceiling receptacle the opener uses: is there a spare socket, is it live, and does the adapter's cord reach a mounting spot with a clear line to the door sensor? The hub is placed within a few metres of the door so its own short-range link to the sensor stays solid, and away from the trolley and chain. If the receptacle is full, an approved splitter or a second receptacle installed by an electrical contractor is discussed. The adapter itself is checked for a recognized Canadian approval mark before it is plugged in.
Wiring a hub to the wall-control terminals
On openers that accept a simple push-button contact, the hub is connected with two lengths of low-voltage bell wire to the same terminals the wall console uses. The technician routes the wire along the rail or ceiling, clipped clear of the chain and trolley, and lands it neatly beside the existing console wires. Openers that use an encrypted wall console take a different route: either the hub pairs by radio, taught to the opener through the learn button like a new remote, or a small dry-contact adapter sits between them. Whichever applies, the wall console keeps working exactly as before, and the hub simply becomes one more way to give the same command.
Keeping the account yours
The controller is now a door key that lives in an account, so the account gets the same care as a key ring. Keep the password unique to this service and stored in a password manager, turn on two-step verification if the app offers it, and look at the user list every few months. When a cleaner finishes, a tenant moves out or a relationship changes, their access is removed in a few taps. If a phone is lost, signing out of all devices from the account settings closes that door too. None of this needs a technician; the visit ended with you shown exactly where each of these controls lives.
Smart Garage Controller Setup
In the van
Cable clips and insulated staples
Low-voltage bell wire
Dry-contact adapter for encrypted openers
Mounting screws and brackets
A 2x4 offcut for the reversal test
Smart Garage Controller Setup
What affects the quote
Ceiling height and access
A standard garage puts the head unit and the top door panel in easy ladder reach. High ceilings, storage lofts or a car that cannot move add setup time.
Cellular backup if the home Wi-Fi goes down
A hub that only works over Wi-Fi stops reporting the moment the internet drops, which matters most during a storm. A cellular backup module keeps alerts and remote closing working through an outage, and whether one is added is decided once the household's connectivity is reviewed.
The opener's generation
Some openers accept a two-wire connection at the wall-control terminals; others use encrypted consoles and need radio pairing or a small adapter between hub and opener. The learn button and label decide which.
What to have ready
- What brand and model is your opener, and roughly how old is it?
- Is there a wireless or network symbol printed on the head unit?
- Is the garage attached to the house or detached?
Smart Garage Controller Setup: questions
QuestionsMy opener already has a wireless symbol on it. Do I still need a hub?
Probably not. An opener with a built-in radio needs only to be put into pairing mode, joined to your network and registered to your account; it reports door position from its own travel sensing, so no separate sensor is required either. The visit becomes configuration and testing rather than installation. The technician also checks that the unit has not been left tied to a previous owner and that its firmware is current.
The previous owner's controller is still on the ceiling. Can I use it?
Usually, once it is released from their account. If the seller can be reached, they remove the device from their app; if not, the technician performs a factory reset using the maker's documented steps, which clears the old registration. The hub and sensor are then paired fresh, joined to your network and claimed under your own login, and the battery and sensor placement are checked rather than assumed.
Where does the door sensor go, and what does it do?
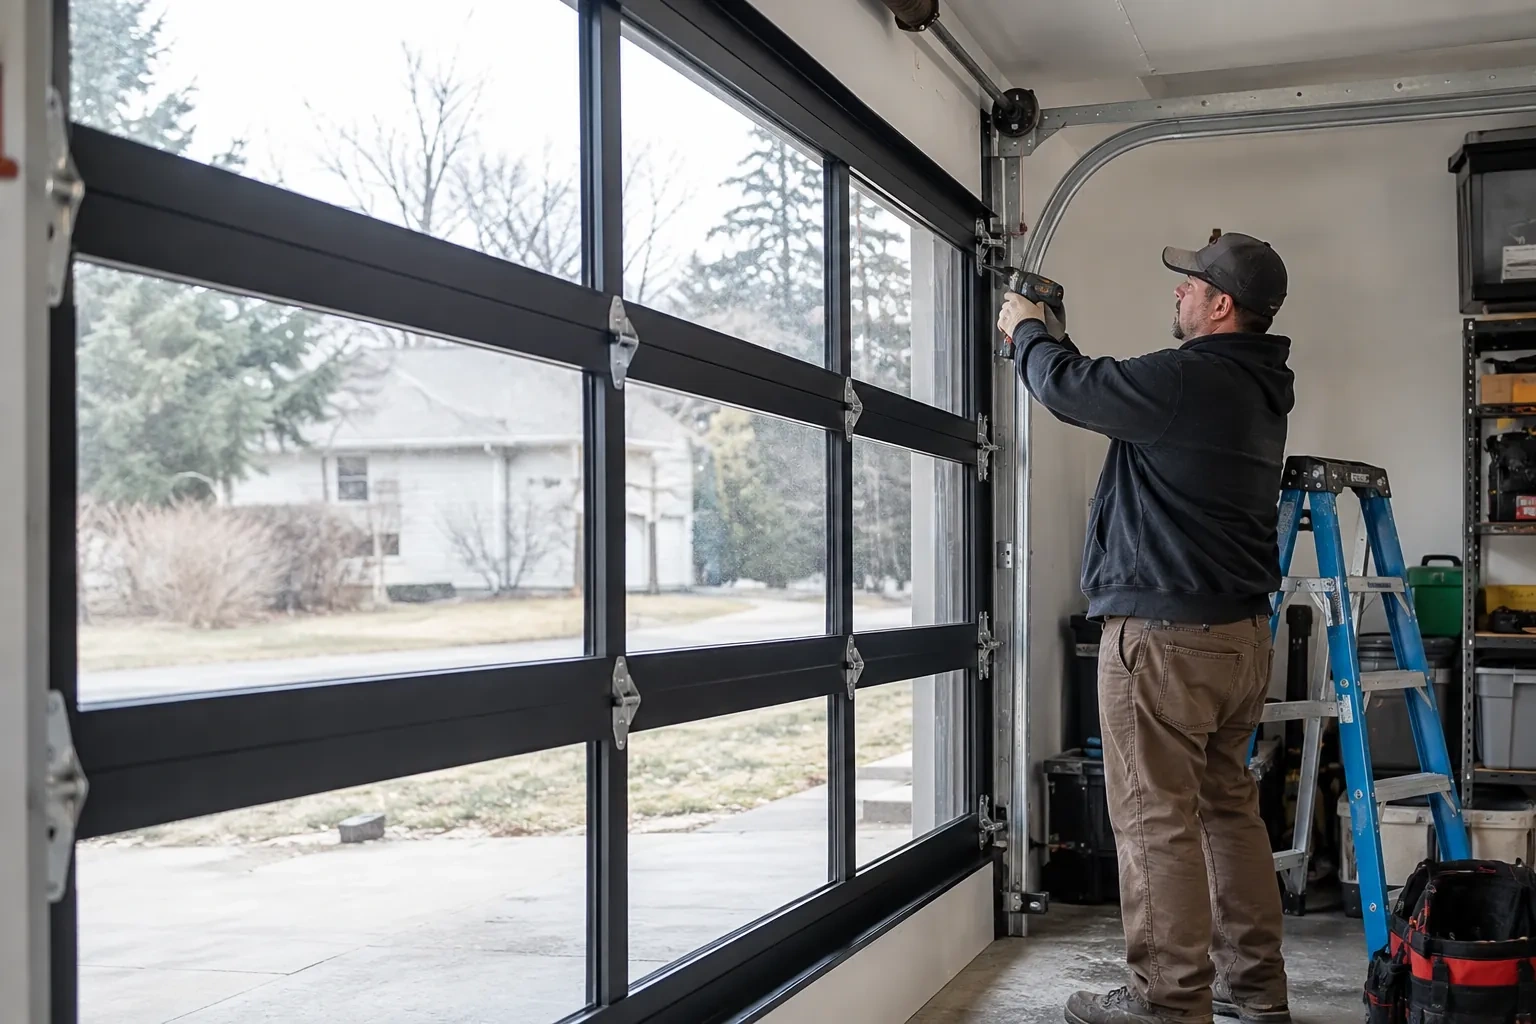
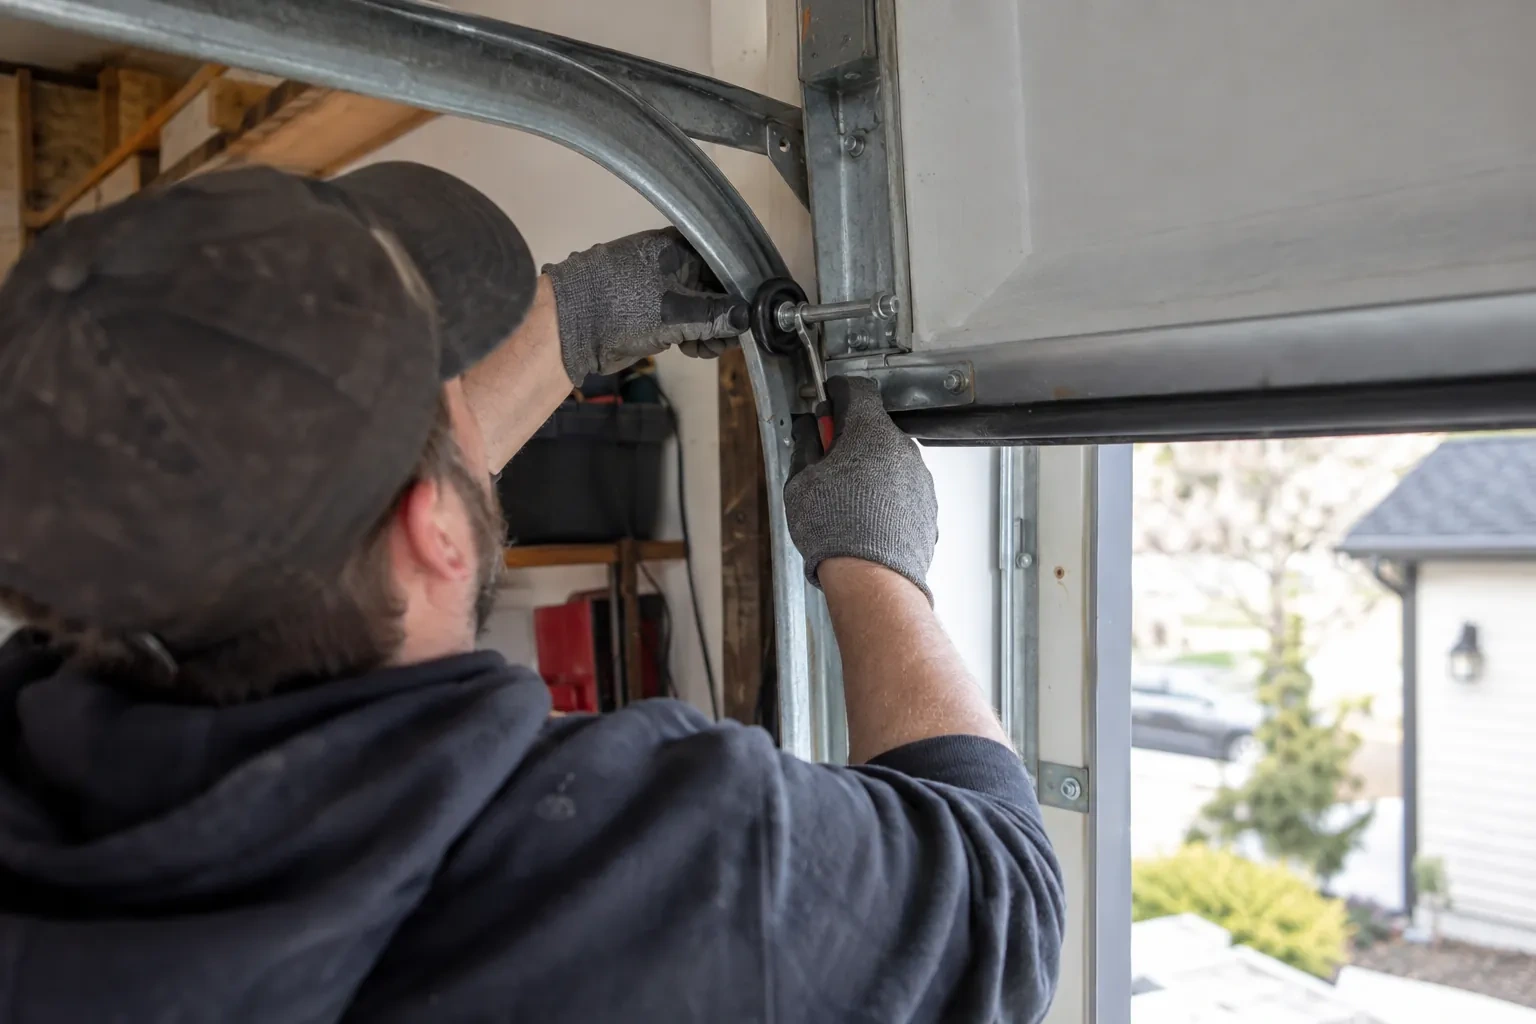
It screws to the inside of the top door section and senses tilt: that panel stands vertical when the door is closed and lies horizontal once the door is open, and the sensor reports the change to the hub by short-range radio. It is placed clear of the opener arm, lock bar and handles, on a flat part of the panel, then paired and proven through full cycles under the maker's own setup procedure so the status in the app is reliable.
Related services
- Chain-Drive Opener RepairThe door opens about a third of the way and stops.
- Belt-Drive Opener RepairThe belt looks fine from a distance, but up close the rubber has cracked across the back in dozens of places and, in one spot, you can see the steel cords showing through.
- Garage Door Opener ReplacementThe bedroom above the garage shakes every morning at six when the chain drive fires up.