Openers · Toronto
Garage Door Opener Diagnosis and Repair
The door stops partway up for no reason, or opens fine and then refuses the next time.
In plain words
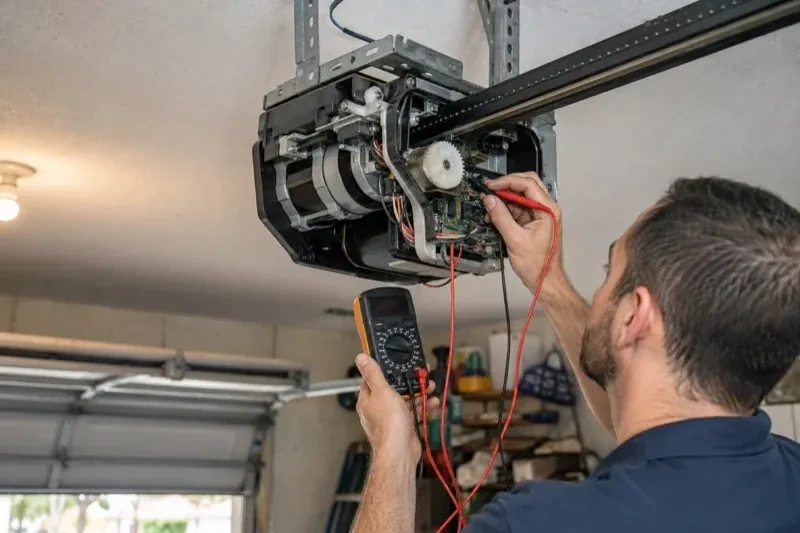
Garage door opener diagnosis is a fault-finding visit with a fixed order of tests. The technician confirms power at the ceiling receptacle, tries each control on its own, checks the safety sensors and their indicator lights, examines the drive train from motor to trolley, and reads any flash code the unit is showing. Only then is a part named, because a dozen different faults look identical from the driveway and guessing at the part costs you a second visit. When the cause is a small component, the repair is made while the technician is there; when it is not, you get a clear account of what comes next.
How the visit goesYou press the remote from the driveway and hear the motor hum overhead, a steady drone with no movement behind it. The door stays shut. Press again and the hum returns, then quits, as if the machine is trying and cannot get a grip on anything.
Garage Door Opener Diagnosis and Repair
How the visit goes
Limits, force and the two safety tests
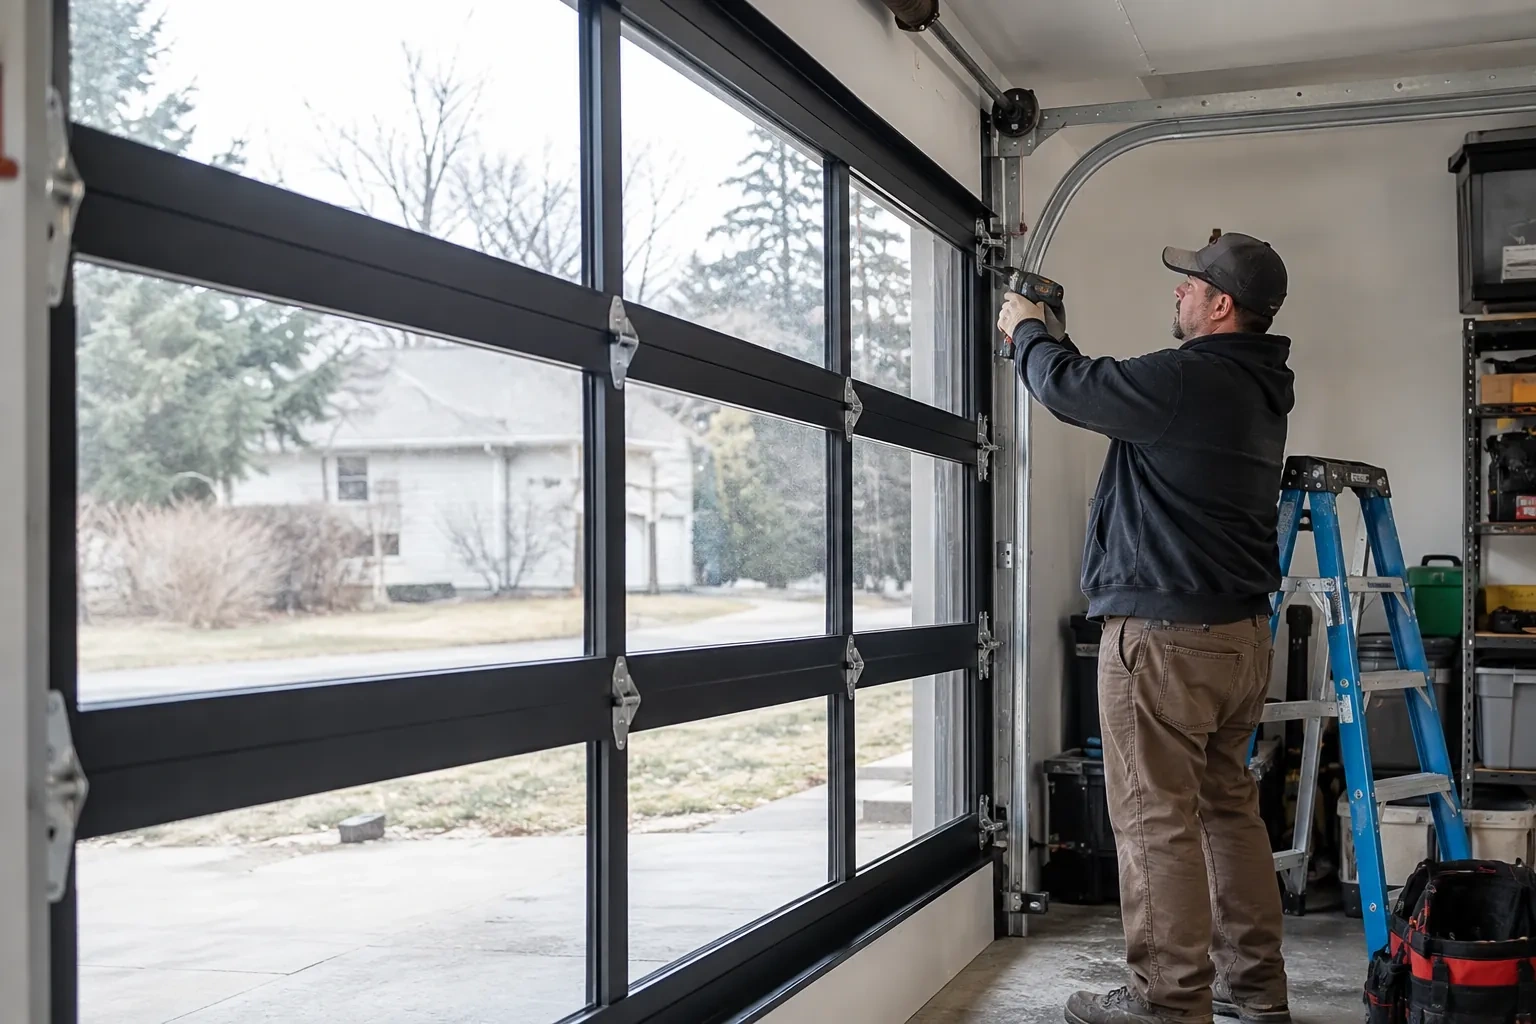
Finally the settings are checked against what the door actually does. Travel limits decide where the door stops at the top and how firmly it meets the floor; a limit set slightly long makes the door hit the slab, sense an obstruction and pop back open. Force settings decide how much resistance the opener tolerates before reversing, and these drift, or get turned up to hide a stiff door. Both are read, the door is run through full cycles, and the contact reversal test with a 2x4 and the beam-interruption test are performed. Any setting that only passes because force is cranked high is treated as a symptom.
Sensor alignment and replacement
Photo eyes are brought back into service by fixing what actually broke. A bent bracket is straightened and re-secured so the two lenses face each other at the same height; dirty or frosted lenses are cleaned; a receiving eye blinded by low winter sun gets a shade, or the pair is swapped side to side. Wire that has been stapled through, chewed or pulled from its terminals is re-run with fresh bell wire, clipped clear of the track. When a sensor's electronics have failed, the pair is replaced together with units made for that opener, then the beam test is repeated to prove the circuit closes and the door reverses.
Ready for the cold months
After a winter diagnosis the door is set up for the season rather than for the day. The bottom seal has been freed and, if it was tearing, replaced, with a light silicone wipe so it releases from the slab. Moving parts carry a low-temperature lubricant. The photo eyes have been cleaned and, where low sun was blinding one, shaded or swapped side to side. Force has been set for a cold, stiff door without being pushed up to hide one. Keep snow and ice cleared from the threshold and the sensor lenses, and expect the door to be a shade slower on the coldest mornings.
Garage Door Opener Diagnosis and Repair
In the van
Travel limit switch or RPM sensor
Remote batteries (coin and cylinder cells)
Garage door lubricant
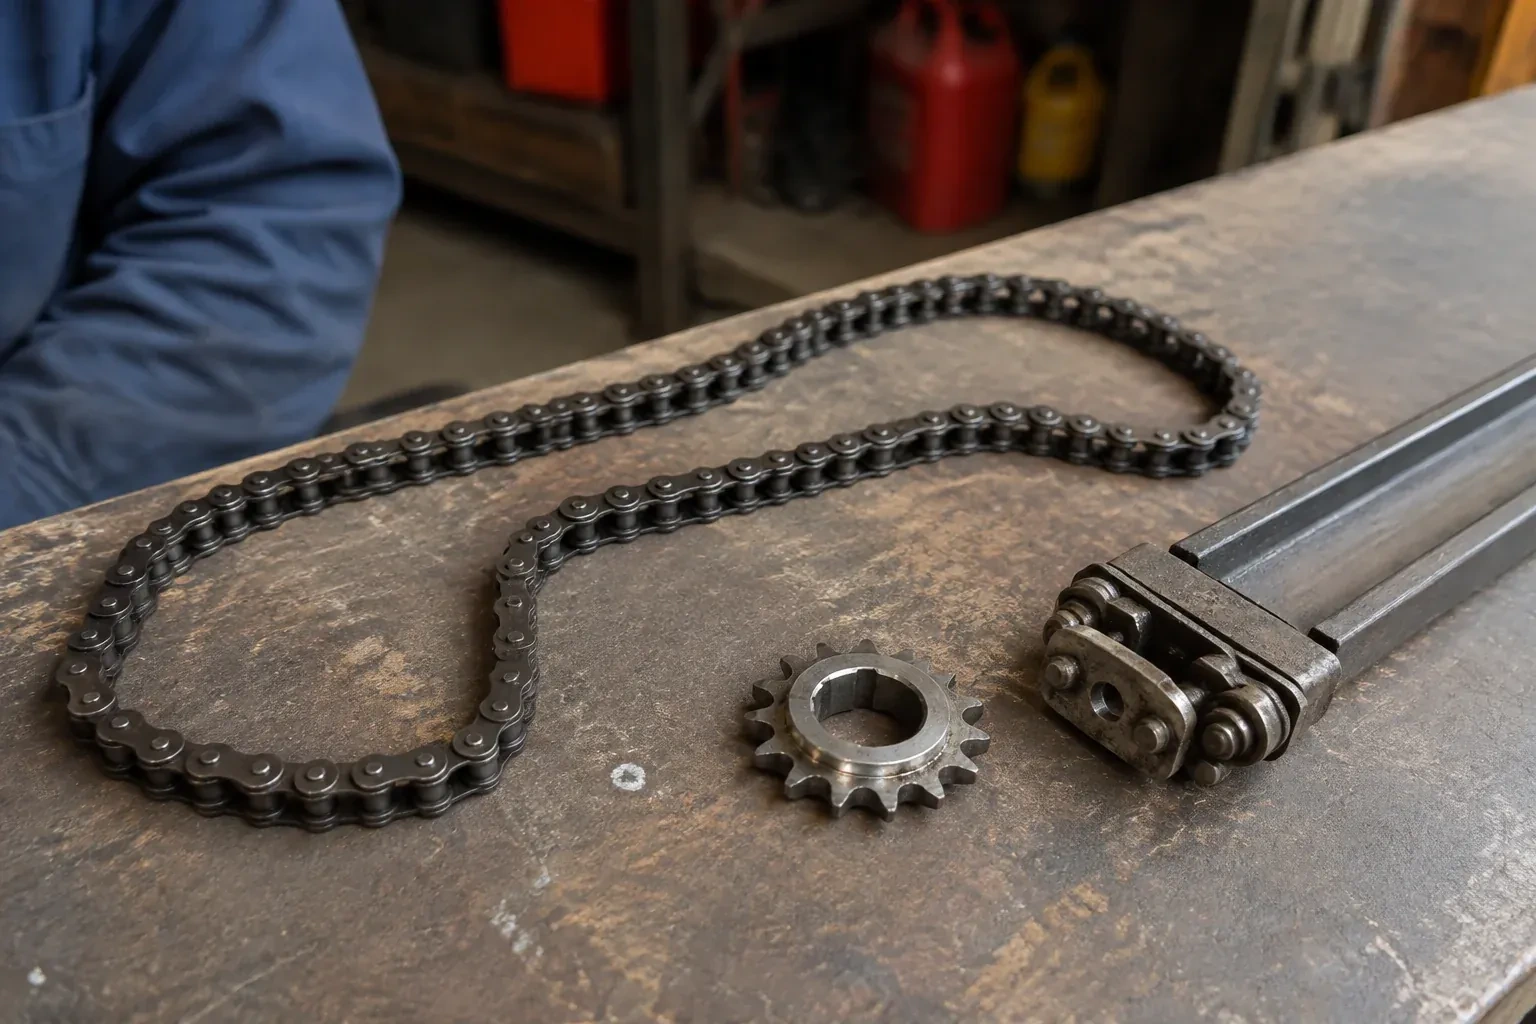
Chain or belt
Drive gear and sprocket kit
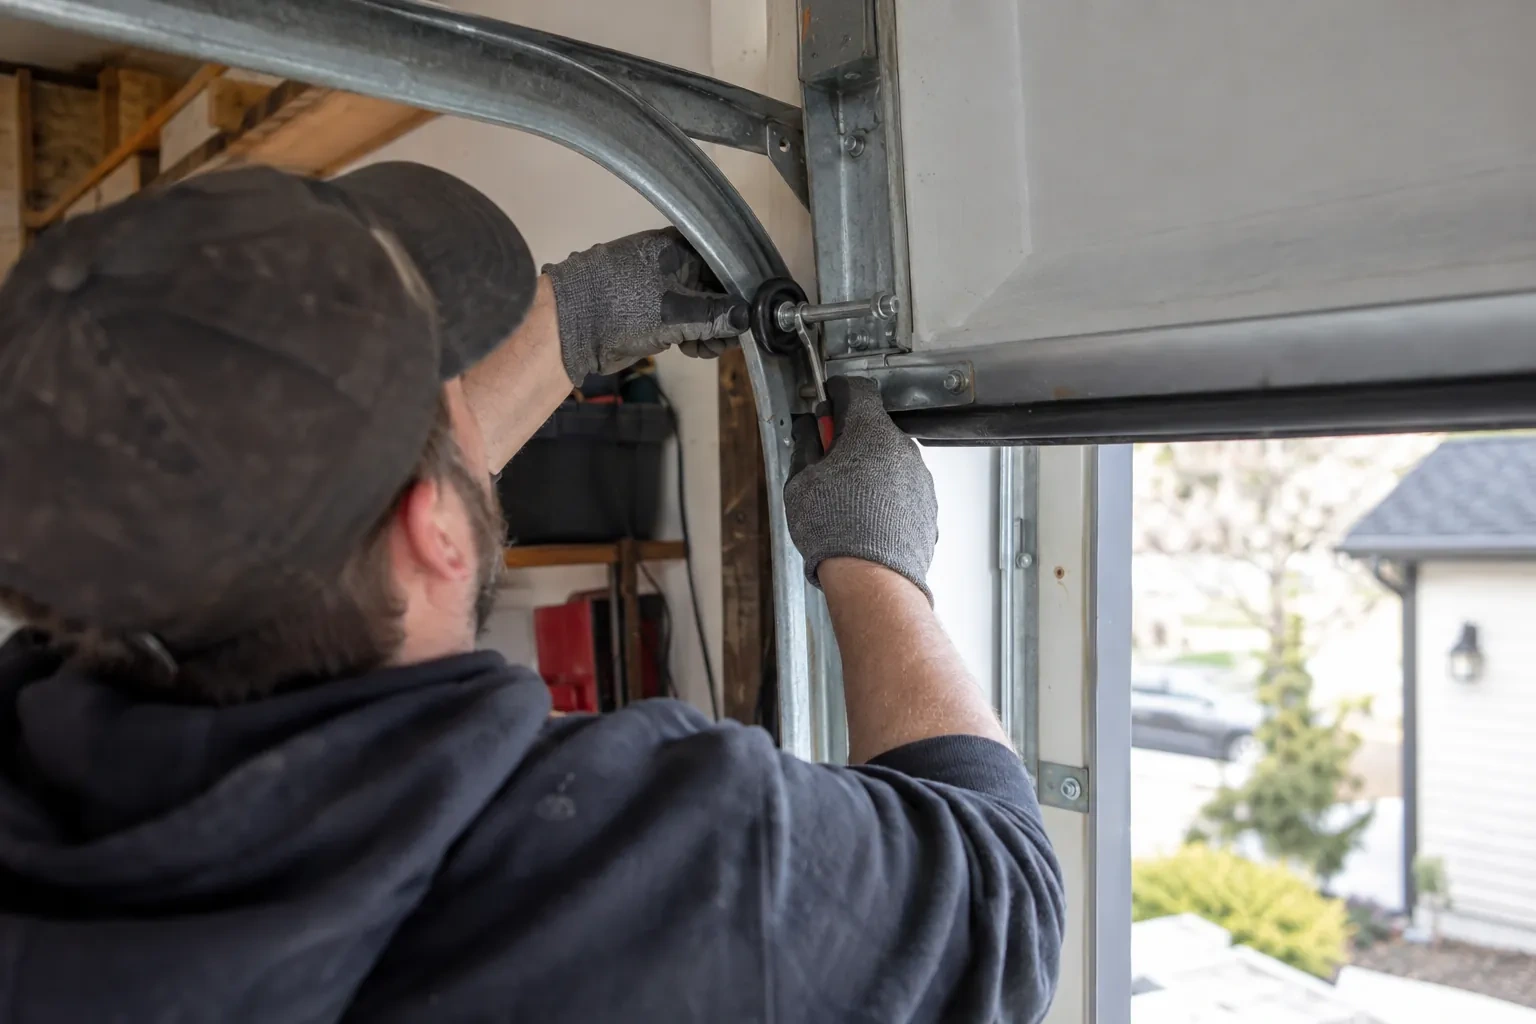
Garage Door Opener Diagnosis and Repair
What affects the quote
Season and weather
A frozen seal, a stiff door and an unheated garage in the cold months add steps to a diagnosis, such as freeing the door and re-lubricating for low temperatures, and the quote allows for them.
Which component failed
A capacitor, a sensor pair or a re-engaged trolley sits at one end of the range; a logic board or a motor sits at the other. The diagnosis names the part before the quote is settled.
Remotes and keypads
Each remote or keypad to be reprogrammed, re-batteried or replaced is counted individually. Say how many devices you have so the quote reflects all of them.
What to have ready
- Roughly how old is the opener, and is the model label readable?
- Are the lights on the opener or the wall control blinking, and in what pattern?
- What does the opener do when you press a button: hum, click, run or nothing?
Garage Door Opener Diagnosis and Repair: questions
QuestionsMy opener went completely dead after a power outage. Is it finished?
Not usually. Outages and the surges that ride along with them commonly trip a breaker or a ground-fault receptacle, blow the small fuse on the board, or knock out the transformer, and each of those is a modest repair. A surge that damages the logic board itself is the more serious case, and whether that board is replaced or the unit retired depends on the model's age and part availability. The diagnosis tells you which case you have.
How old is too old to repair?
Age alone is not the test; parts and safety are. The technician checks the exact model and part numbers, because even a unit from the last two decades can have a board, sensor or trolley that is no longer made. Where the parts are available, a repair is usually straightforward. Where a key part is discontinued with nothing to replace it, or the unit predates photo eyes, replacement is the sounder choice even for a small fault. The technician tells you which side of that line your unit sits on.
What does an opener diagnosis actually involve?
A fixed sequence of checks, done in order so nothing is assumed. Power at the receptacle. Each control tried on its own. The photo eyes and their indicator lights. The head unit's flash code, if it has one. The drive train from motor to trolley. Then the door itself, disconnected and lifted by hand to test its balance. Only after that is a part named and, where it is a small one, replaced during the same visit.
Related services
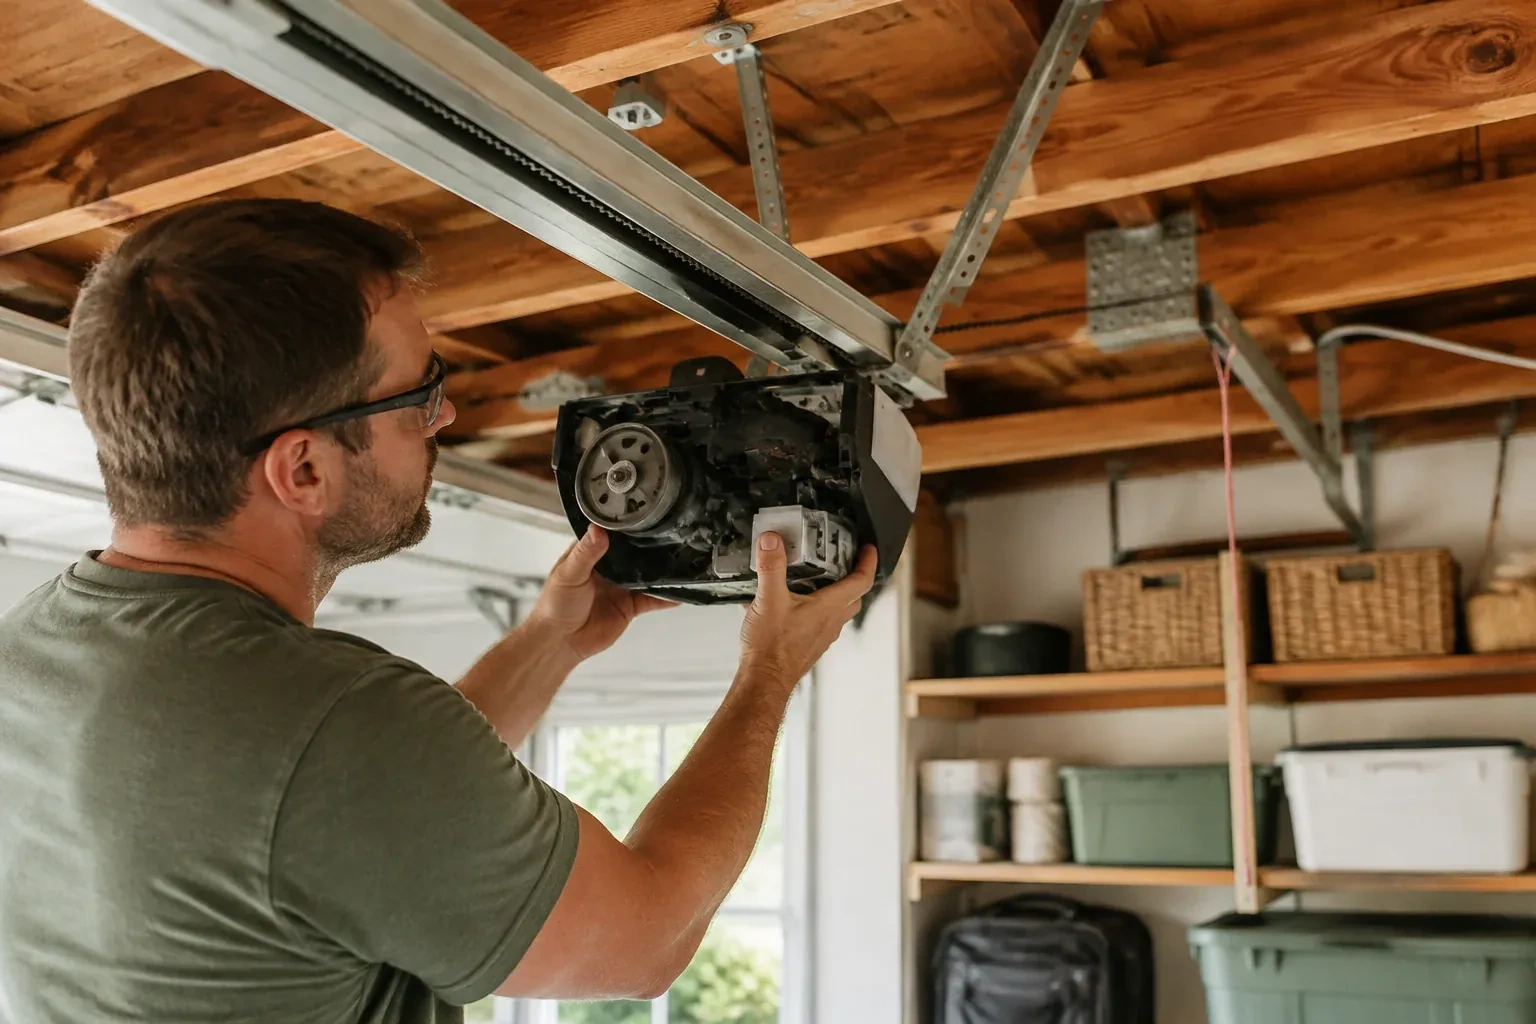
- Belt-Drive Opener RepairThe belt looks fine from a distance, but up close the rubber has cracked across the back in dozens of places and, in one spot, you can see the steel cords showing through.
- Garage Door Opener ReplacementThe bedroom above the garage shakes every morning at six when the chain drive fires up.
- Photo-Eye Sensor Alignment or ReplacementThere are no sensors at the floor at all, or a previous owner has wired the pair together up beside the motor so the beam never crosses the doorway.