Repairs · Toronto
Garage Door Perimeter Weatherstrip
The new door went in last year and looks perfect, but the old wooden stop and its tired seal were left in place.
In plain words
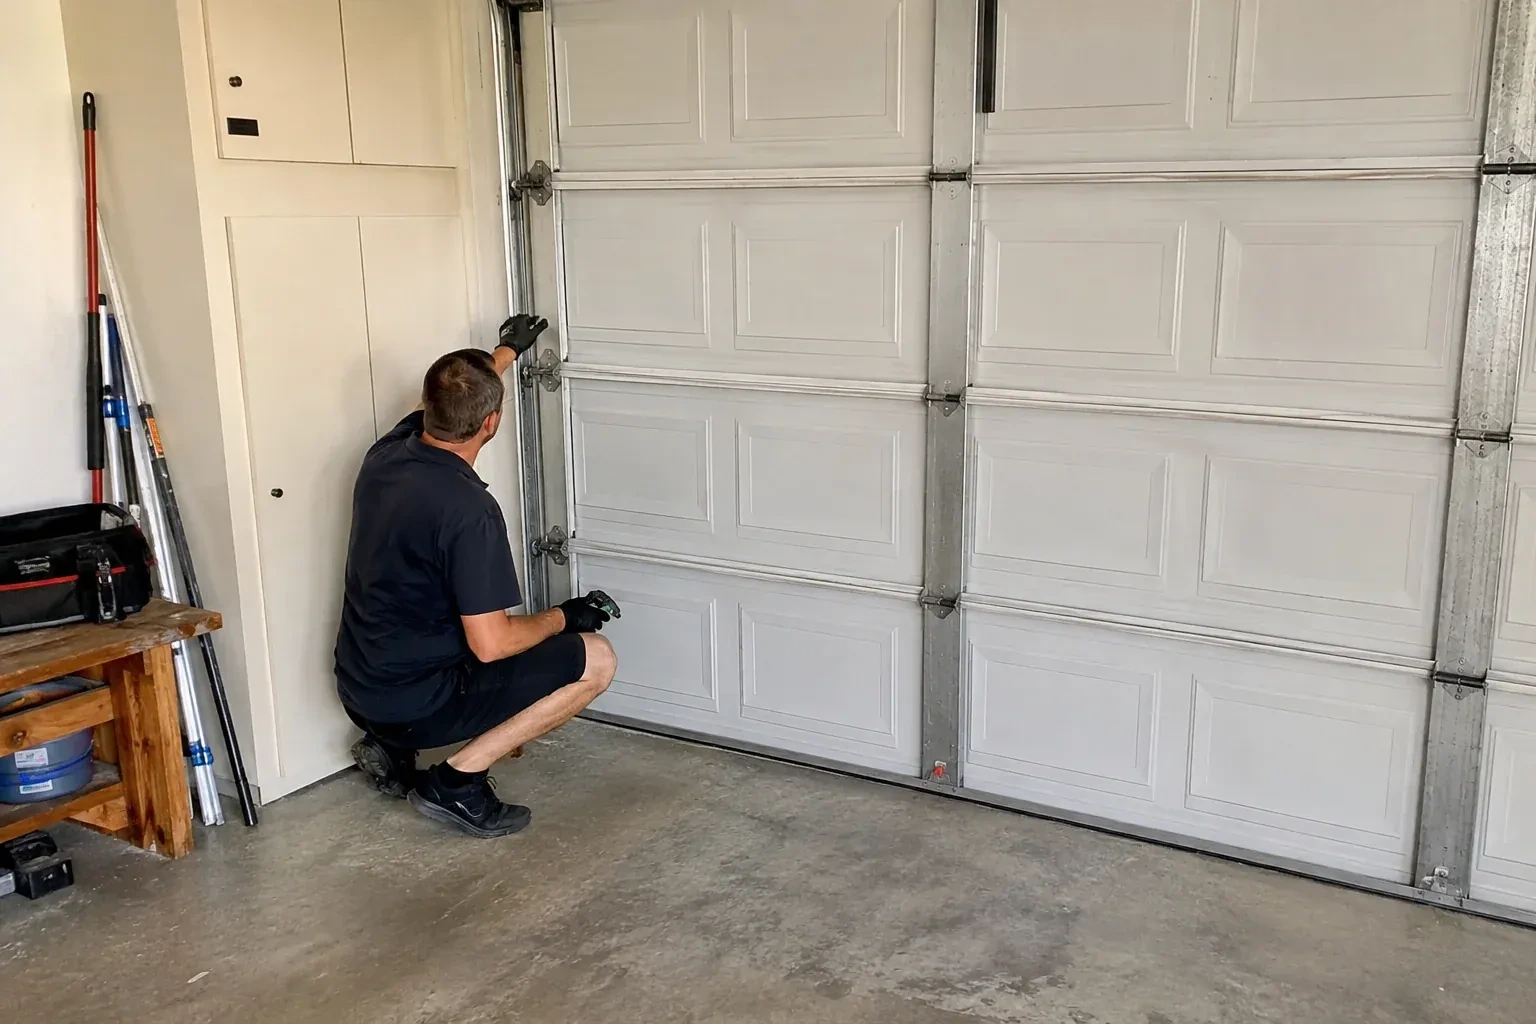
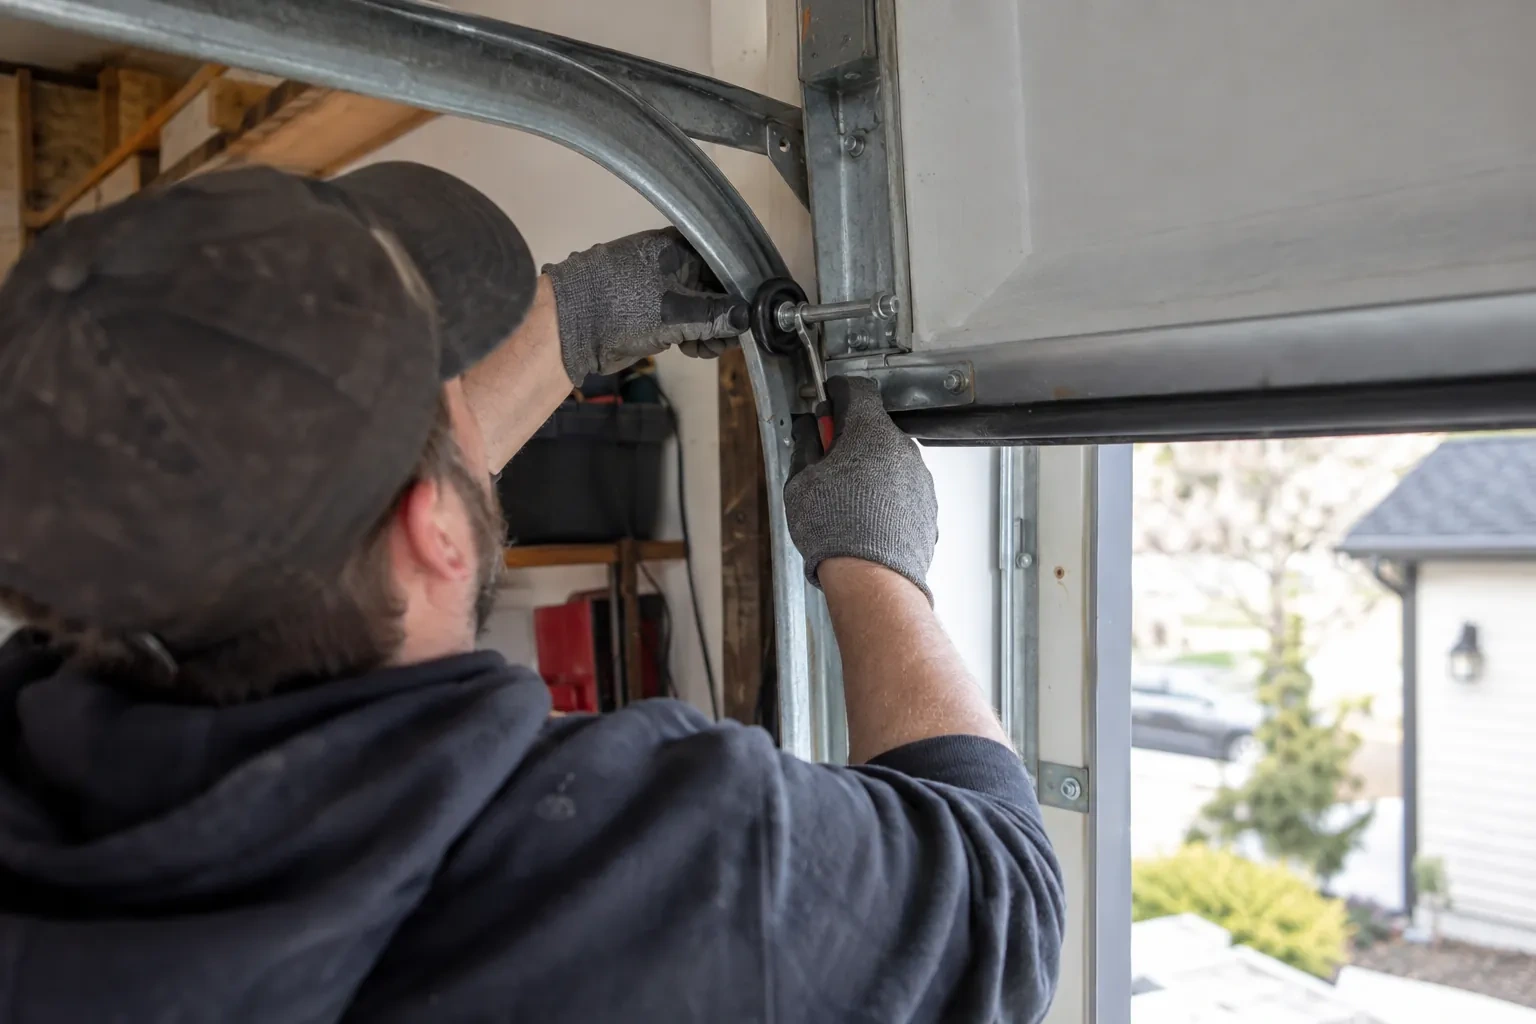
A perimeter seal is only as good as the door it meets, so a technician looks at the door before the seal. If one side shows daylight and the other is tight, the strip may be fine and the door may have drifted: worn rollers, a track bracket that has moved, a top section that bows away from the header. Setting that right first means the new fin can be positioned with the same light contact on every side. Where the door is already square, the seal is fitted straight to it. Either way the result is a door that closes against a continuous line of contact.
How the visit goesEvery time the door closes there is a rubbing squeal along one side, and the flexible fin has folded under itself and torn. Someone painted the trim last summer and painted the seal with it; now it is stiff as a board.
Garage Door Perimeter Weatherstrip
How the visit goes
A daylight test from inside
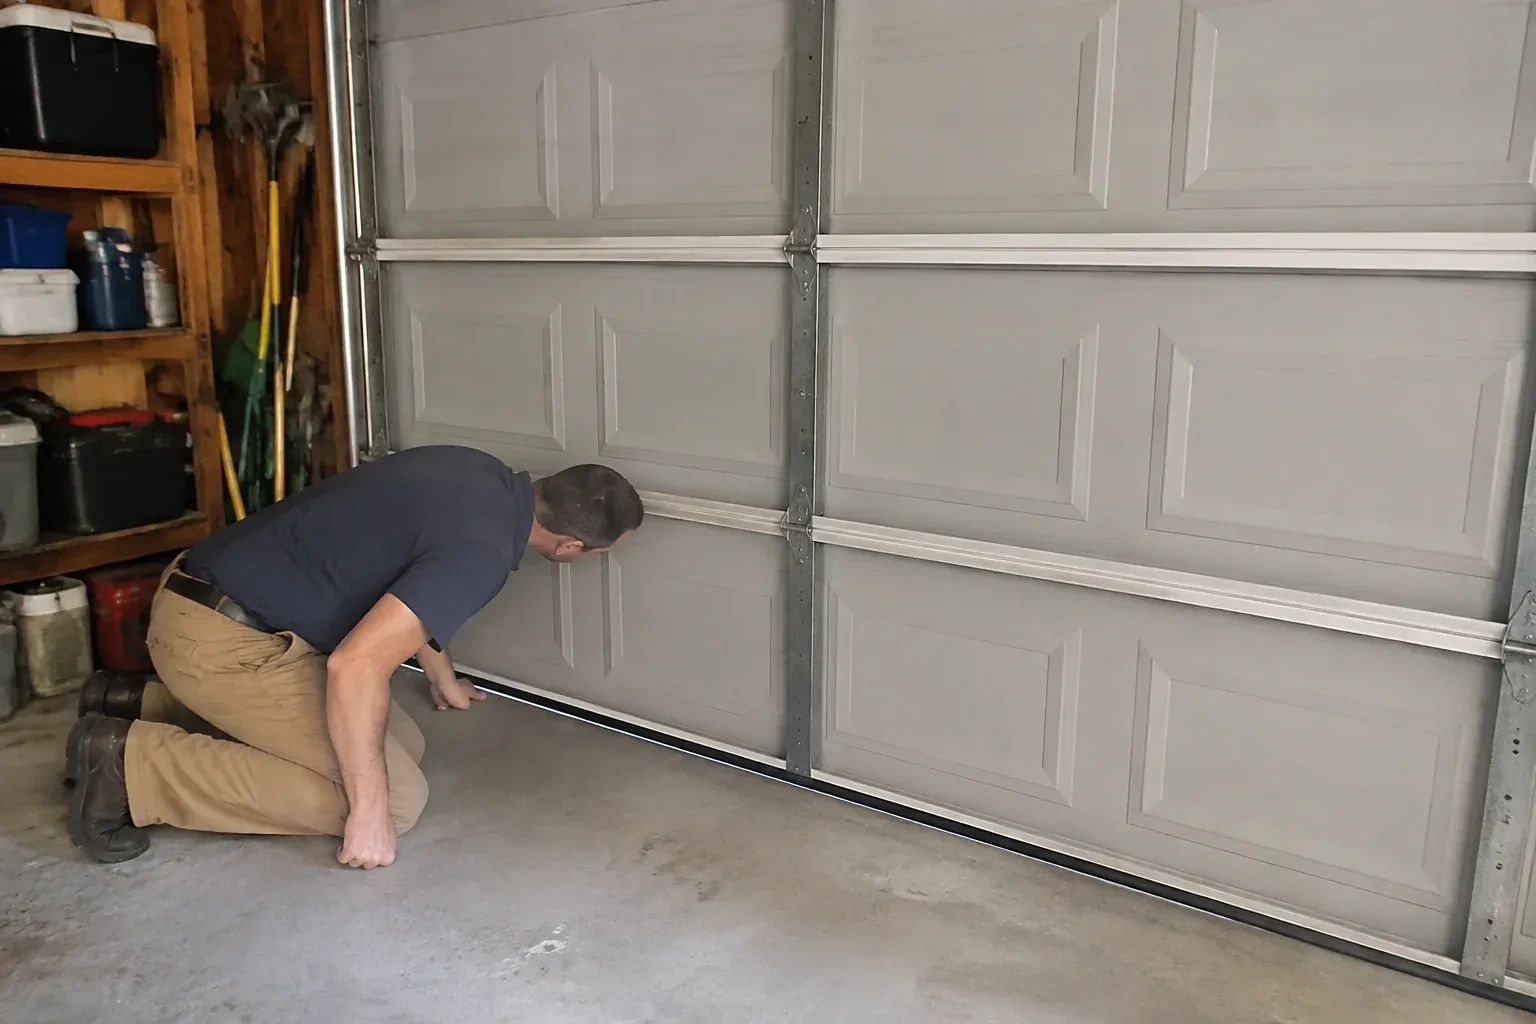
The first check needs no tools. The door is closed, the garage lights go off, and the technician stands inside looking along each side and across the header for lines of daylight. A bright, even line means the fin has shrunk back or hardened; a wedge that widens toward the top or bottom points to the door sitting out of square; a gap only at a corner means the pieces were never overlapped. On a windy day a hand or a smoke pencil along the edge finds drafts that daylight misses. The pattern of the gaps is what tells the technician whether the seal alone is the answer or whether the door needs a small adjustment first.
The header piece goes on first
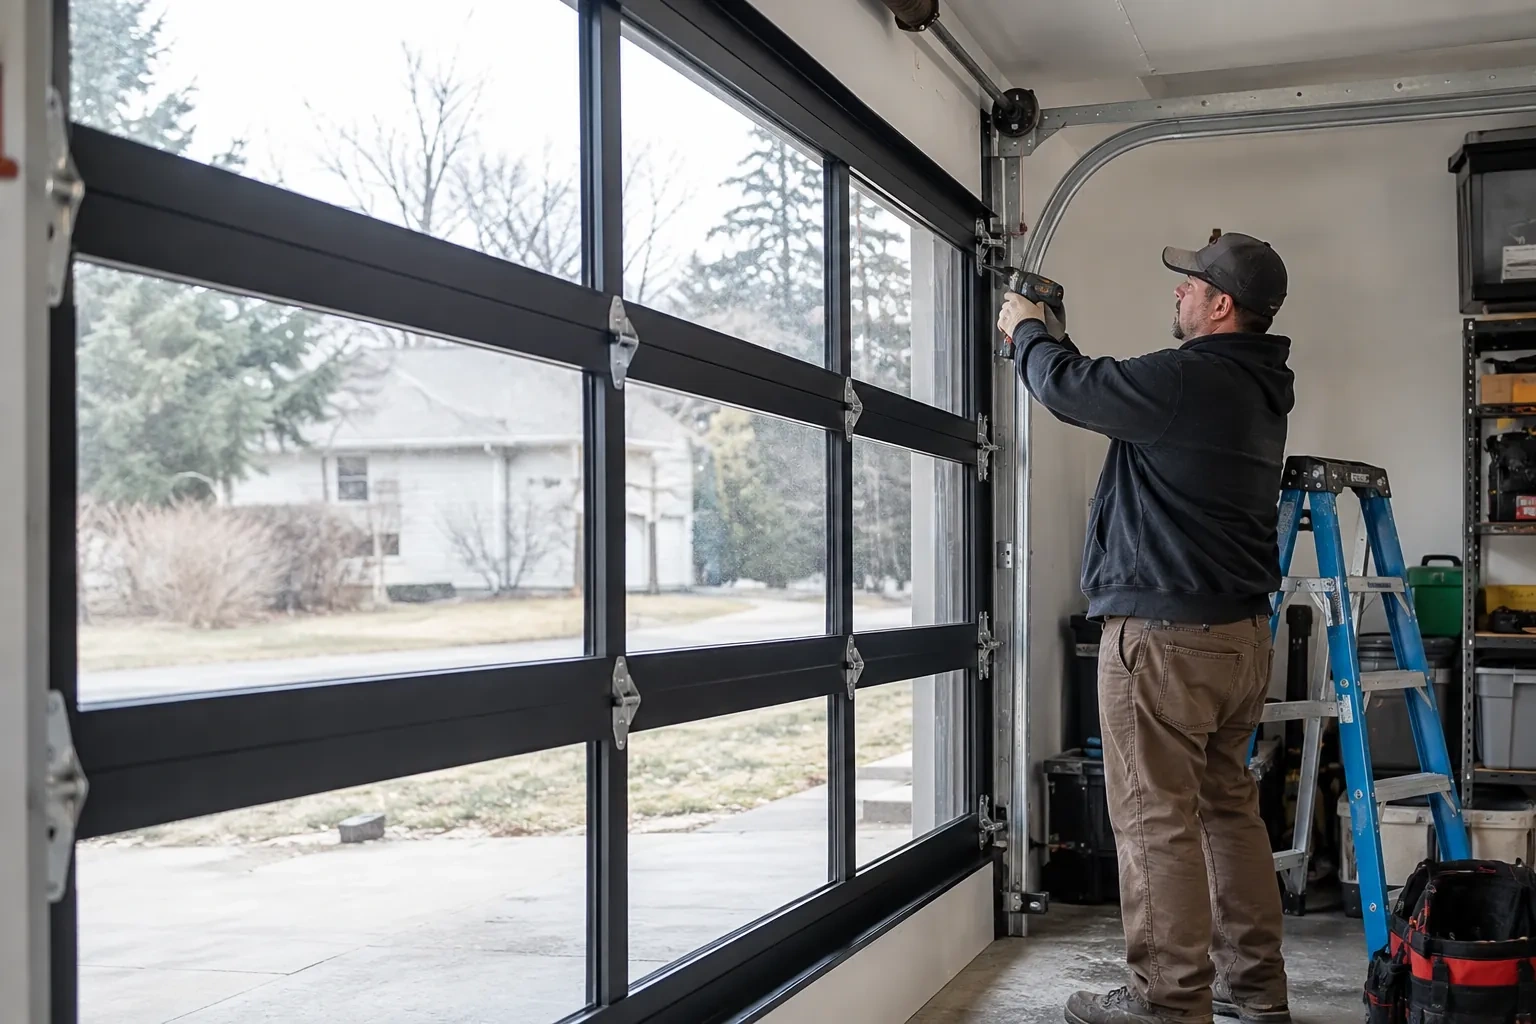
With the door closed, the header length is cut to the full width of the opening and lifted into place, a two-person job on a double door. It is positioned so its fin lies against the top section with a slight, even deflection along the whole width, then fastened from the centre outward with galvanized or stainless nails or exterior screws at regular spacing, which keeps the length straight rather than letting it wander. The ends are left to receive the side pieces beneath them. Fitting the header first means both sides are cut to meet it exactly, and the corners close properly.
A look round each season
The simplest care is a glance four times a year. Close the door, switch off the lights and look along both sides and the header for daylight. Then step outside and check that no length has lifted, that the corners are still tucked together and that the fin is still soft when you press it with a thumb. Cracks, a hard grey surface or a piece that has shrunk back from the door are the early signs. Manufacturers suggest wiping the seal down with a damp cloth a few times a year, and that also lets you feel any change in it.
Garage Door Perimeter Weatherstrip
In the van
Epoxy consolidant and exterior primer
Silicone spray lubricant
Aluminum retainer and rubber insert
Exterior screws and weatherproof staples
Utility knife and mitre saw
Garage Door Perimeter Weatherstrip
What affects the quote
Alignment work on the door
Where the door sits out of square and a track bracket or the door itself needs small correction before the seal can meet it evenly, that adjustment is named separately.
Commercial or oversized openings
Wider and taller commercial doors often carry an aluminum retainer with a rubber insert or a brush seal, and the material and fitting time differ from a residential vinyl seal.
Trim, brickmould and caulking
Re-caulking the joint between stop and trim, or dressing capping that channels water down the jamb, is small work done while the surface is bare and is listed on its own line.
What to have ready
- Does the door rub or catch on the seal when it moves?
- Is it a single or double door, and roughly how wide and tall?
- Is your garage attached to the house, and is it heated?
Garage Door Perimeter Weatherstrip: questions
QuestionsShould I choose a fin on the wood stop or a one-piece vinyl stop?
If the wood stop is sound, straight and not buried in paint, a new fin nailed to its face is the simpler choice and keeps the look of the trim. If the stop is cracked, soft or has been painted many times, a one-piece vinyl stop replaces it entirely, needs no paint and cannot rot. The technician checks the stop and recommends one or the other on site.
My door was replaced last year. Does the perimeter seal need doing too?
Often, yes. A new door is sometimes fitted against the original wood stop and its old fin, and the new door may sit slightly differently in the opening, so the old seal no longer meets it. If daylight shows at the edges or the fin is hard and cracked, a new seal set against the new door completes the installation and matches the fresh look of the door.
Why is there daylight on one side but not the other?
It can be either. Worn rollers, a track bracket that has shifted or a top section that bows can move the door face toward one jamb and away from the other, and a seal that is damaged, shrunk, the wrong size or set slightly off the door face shows the same way. The technician checks both the door's alignment and the seal itself, corrects what is out of true, then fits the new seal to a door that closes evenly.
Related services
- Garage Door Tune-UpYou pulled the red cord to lift the door by hand during a power cut and it felt like lifting a car.
- Off-Track Garage Door ResetA delivery van backed into the shop's overhead door this afternoon.
- Garage Door Panel ReplacementYou misjudged the last metre of the driveway and felt the bumper meet the door.