Repairs · Humber Summit
Garage Door Perimeter Weatherstrip in Humber Summit
The new door went in last year and looks perfect, but the old wooden stop and its tired seal were left in place.
In plain words
The job follows a steady order. First the door is closed and the gaps are found from inside, by daylight and by feel. Then the door itself is checked for how it sits in the opening, since a seal only works against a door that is square to the frame. The jambs and header are inspected for rot and for how the old strip is fixed. The old material comes off, the surface is cleaned and repaired where needed, the header piece is fitted first and the sides after it, and the door is cycled several times to confirm nothing catches. You are shown the result with the lights off.
How the visit goesThe bedroom over the garage is always the cold room, and standing in the garage you can feel why: a steady draft along the door edges that moves the cobwebs on the wall. The seal around the opening has flattened to nothing.
Garage Door Perimeter Weatherstrip
How the visit goes
A daylight test from inside
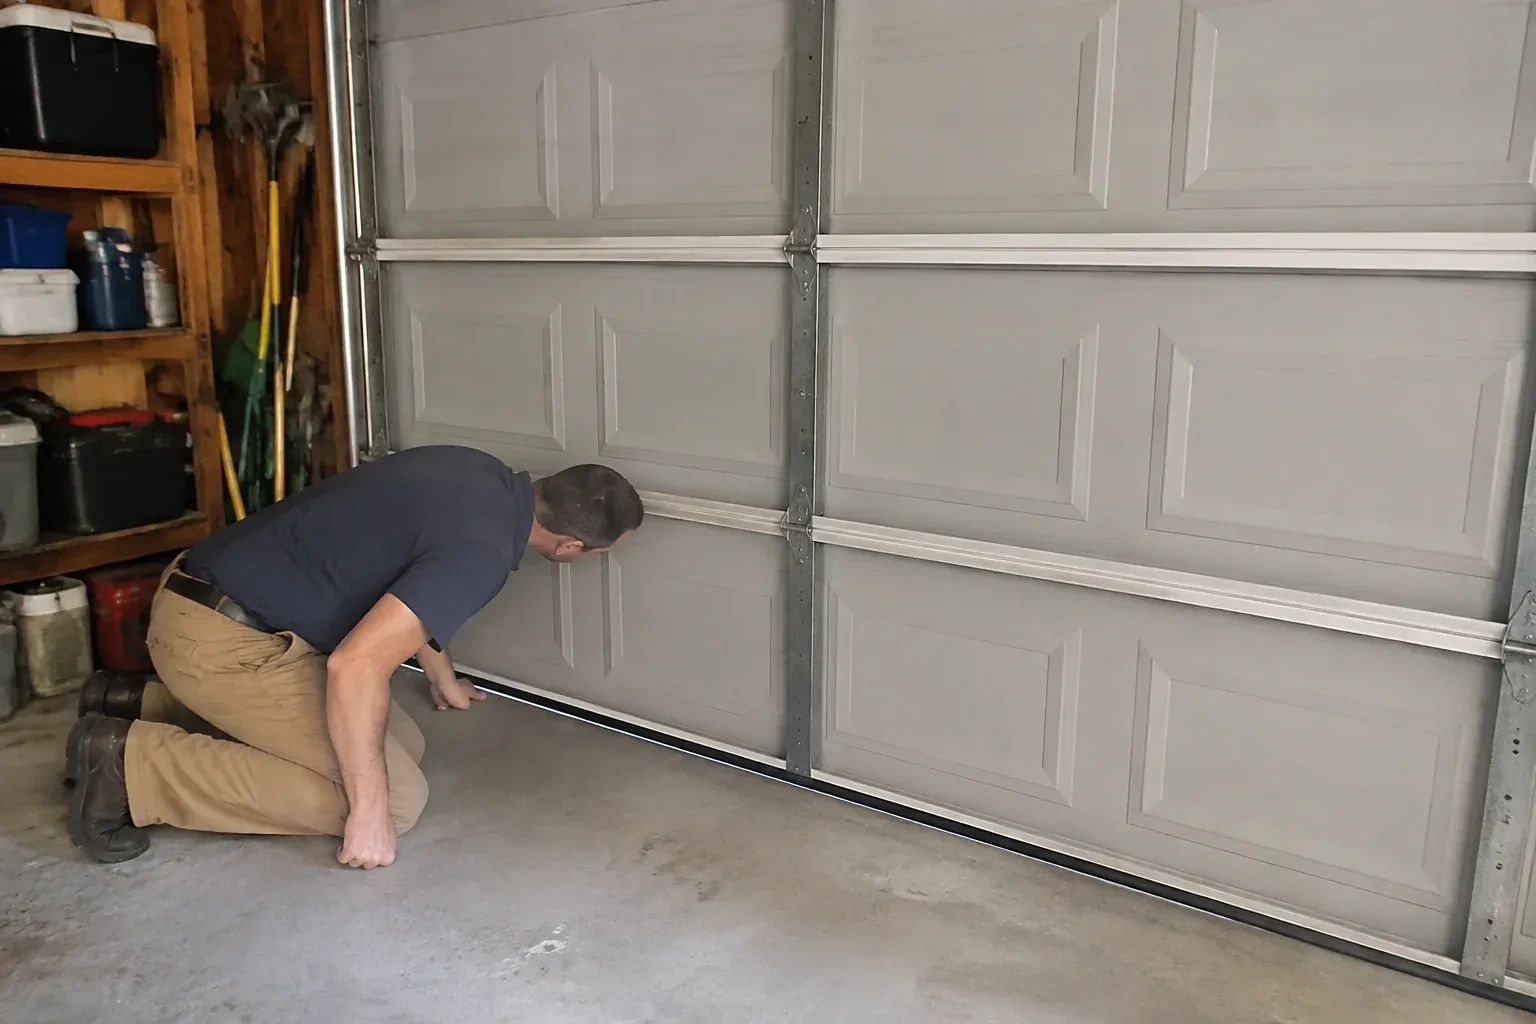
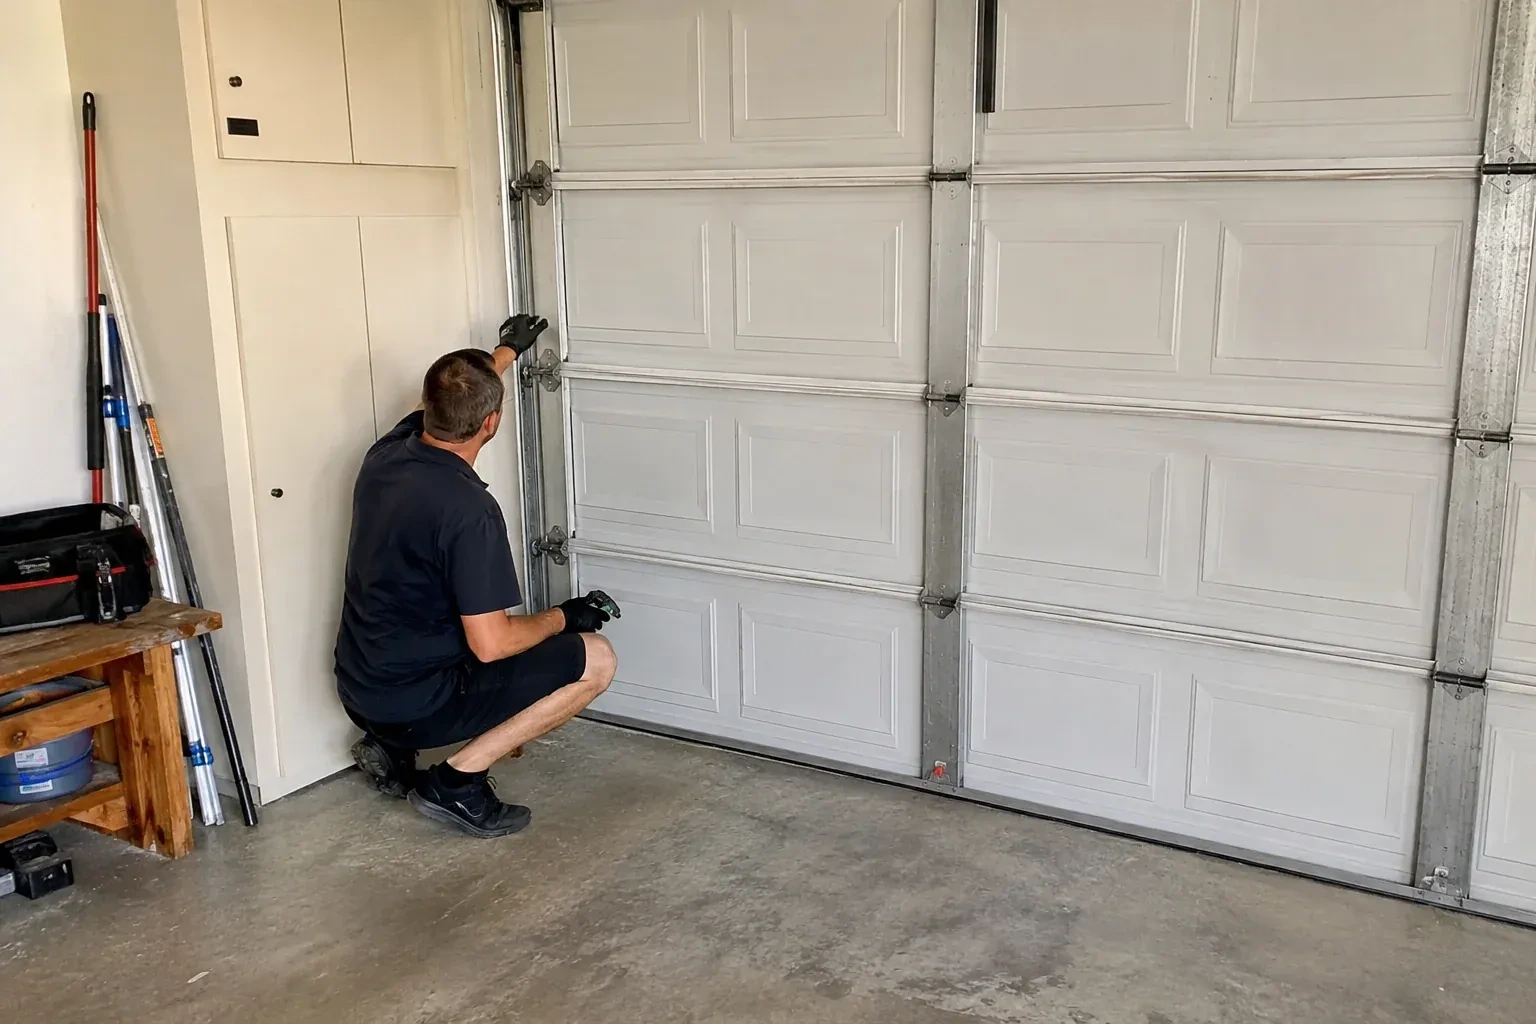
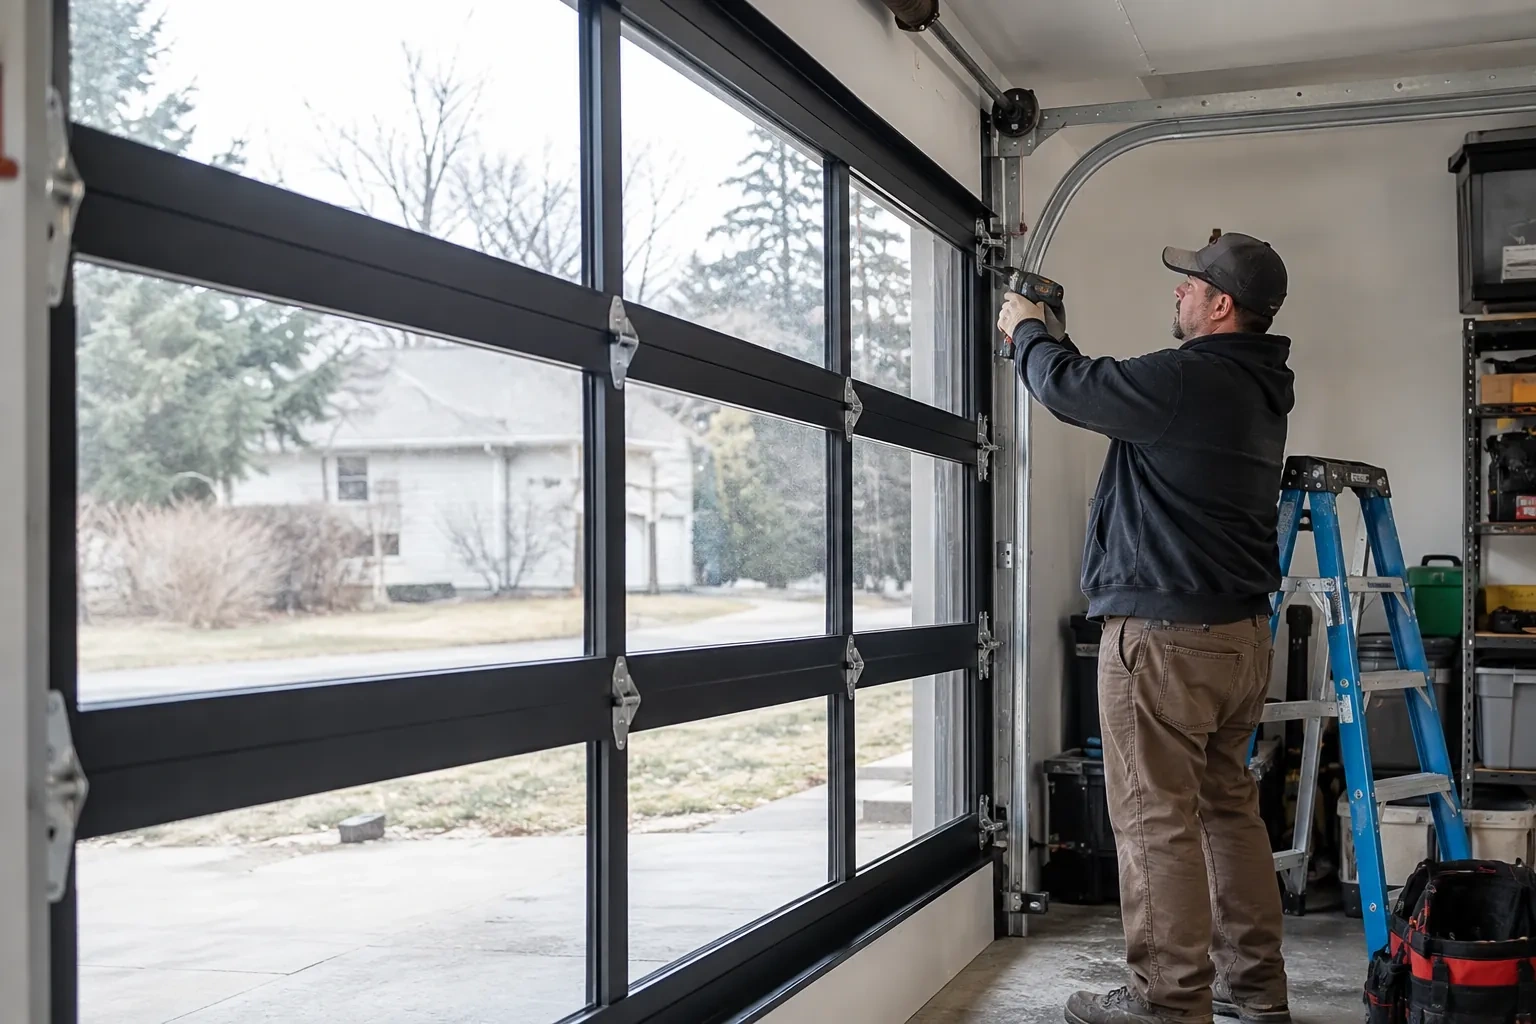
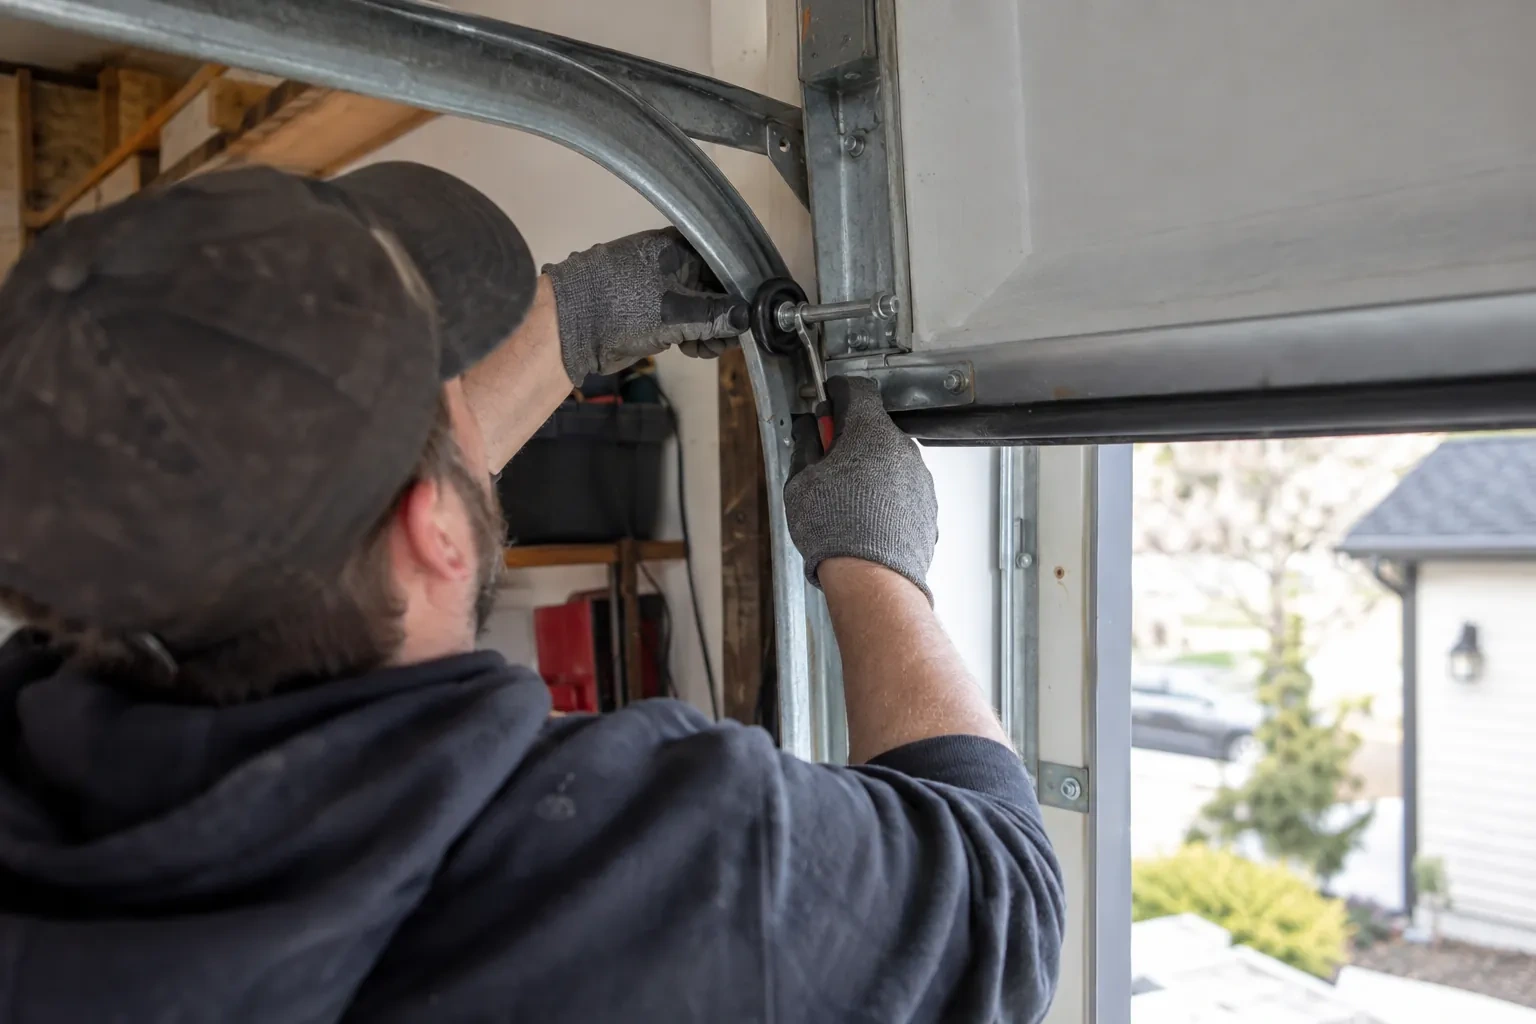
The first check needs no tools. The door is closed, the garage lights go off, and the technician stands inside looking along each side and across the header for lines of daylight. A bright, even line means the fin has shrunk back or hardened; a wedge that widens toward the top or bottom points to the door sitting out of square; a gap only at a corner means the pieces were never overlapped. On a windy day a hand or a smoke pencil along the edge finds drafts that daylight misses. The pattern of the gaps is what tells the technician whether the seal alone is the answer or whether the door needs a small adjustment first.
Making the jamb sound
Where probing found soft wood, it is dealt with before the seal. Rot at the base of the jamb is cut back to solid material and a matching piece of lumber or PVC trim is spliced in, fixed and primed. Minor soft spots are hardened with an epoxy consolidant and filled. Fasteners that will hold the new stop are then going into wood that grips them, which is what keeps the strip tight through years of the door pressing on it. Where the jamb is clad, the technician finds the solid framing behind the cladding and fastens through to it rather than into the thin skin.
Before the freezing rain
In late autumn, wipe the fin with a silicone spray or a silicone-based lubricant on a cloth. It leaves a film that cuts the odds of meltwater bonding the fin to the cold door face during an ice storm, though a hard freeze can still catch it. Oil-based products are avoided because they swell and soften vinyl over time. The same wipe once or twice through the winter keeps the fin supple. If the door does freeze to the seal, a little warm water along the edge from inside, or simply waiting for the sun, frees it without pulling; dry the thawed spot afterwards so it does not simply refreeze.
Garage Door Perimeter Weatherstrip
In the van
Epoxy consolidant and exterior primer
Silicone spray lubricant
Aluminum retainer and rubber insert
Exterior screws and weatherproof staples
Utility knife and mitre saw
Garage Door Perimeter Weatherstrip
What affects the quote
Weather on the day
Cold weather means keeping vinyl warm between the van and the opening and fitting each length with extra care, so a winter visit can run a little longer than one in mild weather.
Corner detailing
Mitred corners on a one-piece stop, or fitting round an unusual trim profile, take more cutting and fitting than butted corners on a plain jamb.
Adding a brush or foam seal to the sides as well as the stop
Some households want only the top and side stop replaced, while others add a brush or foam seal along the same run for a tighter fit against wind-driven snow. That extra material and the time to fit it are agreed before the old stop comes off.
What to have ready
- Have mice, leaves or water been getting in?
- What colour is the trim around the door?
- Is the wood around the opening soft or rotten near the floor?
Garage Door Perimeter Weatherstrip: questions
QuestionsShould I choose a fin on the wood stop or a one-piece vinyl stop?
If the wood stop is sound, straight and not buried in paint, a new fin nailed to its face is the simpler choice and keeps the look of the trim. If the stop is cracked, soft or has been painted many times, a one-piece vinyl stop replaces it entirely, needs no paint and cannot rot. The technician checks the stop and recommends one or the other on site.
My door was replaced last year. Does the perimeter seal need doing too?
Often, yes. A new door is sometimes fitted against the original wood stop and its old fin, and the new door may sit slightly differently in the opening, so the old seal no longer meets it. If daylight shows at the edges or the fin is hard and cracked, a new seal set against the new door completes the installation and matches the fresh look of the door.
Why is there daylight on one side but not the other?
It can be either. Worn rollers, a track bracket that has shifted or a top section that bows can move the door face toward one jamb and away from the other, and a seal that is damaged, shrunk, the wrong size or set slightly off the door face shows the same way. The technician checks both the door's alignment and the seal itself, corrects what is out of true, then fits the new seal to a door that closes evenly.
Related services
- Garage Door Tune-UpYou pulled the red cord to lift the door by hand during a power cut and it felt like lifting a car.
- Off-Track Garage Door ResetA delivery van backed into the shop's overhead door this afternoon.
- Garage Door Panel ReplacementYou misjudged the last metre of the driveway and felt the bumper meet the door.