Repairs · Toronto
Garage Door Bottom Seal Replacement in Toronto
With the door closed and the lights off, a bright line of daylight runs along the floor from one side to the other.
In plain words
Bottom seals come in a handful of profiles, and the retainer on your door decides which one fits. A T-style seal has T-shaped edges that slide into a single or double channel; a bead seal has rounded edges for the bead channels found on many older steel doors; a bulb or U-style seal is a larger tube that compresses further and suits rough or dished floors. The technician measures the channel spacing and the door width, then picks the profile, height and material to match. A correctly matched seal slides home, stays put through thousands of cycles and closes evenly along its whole length.
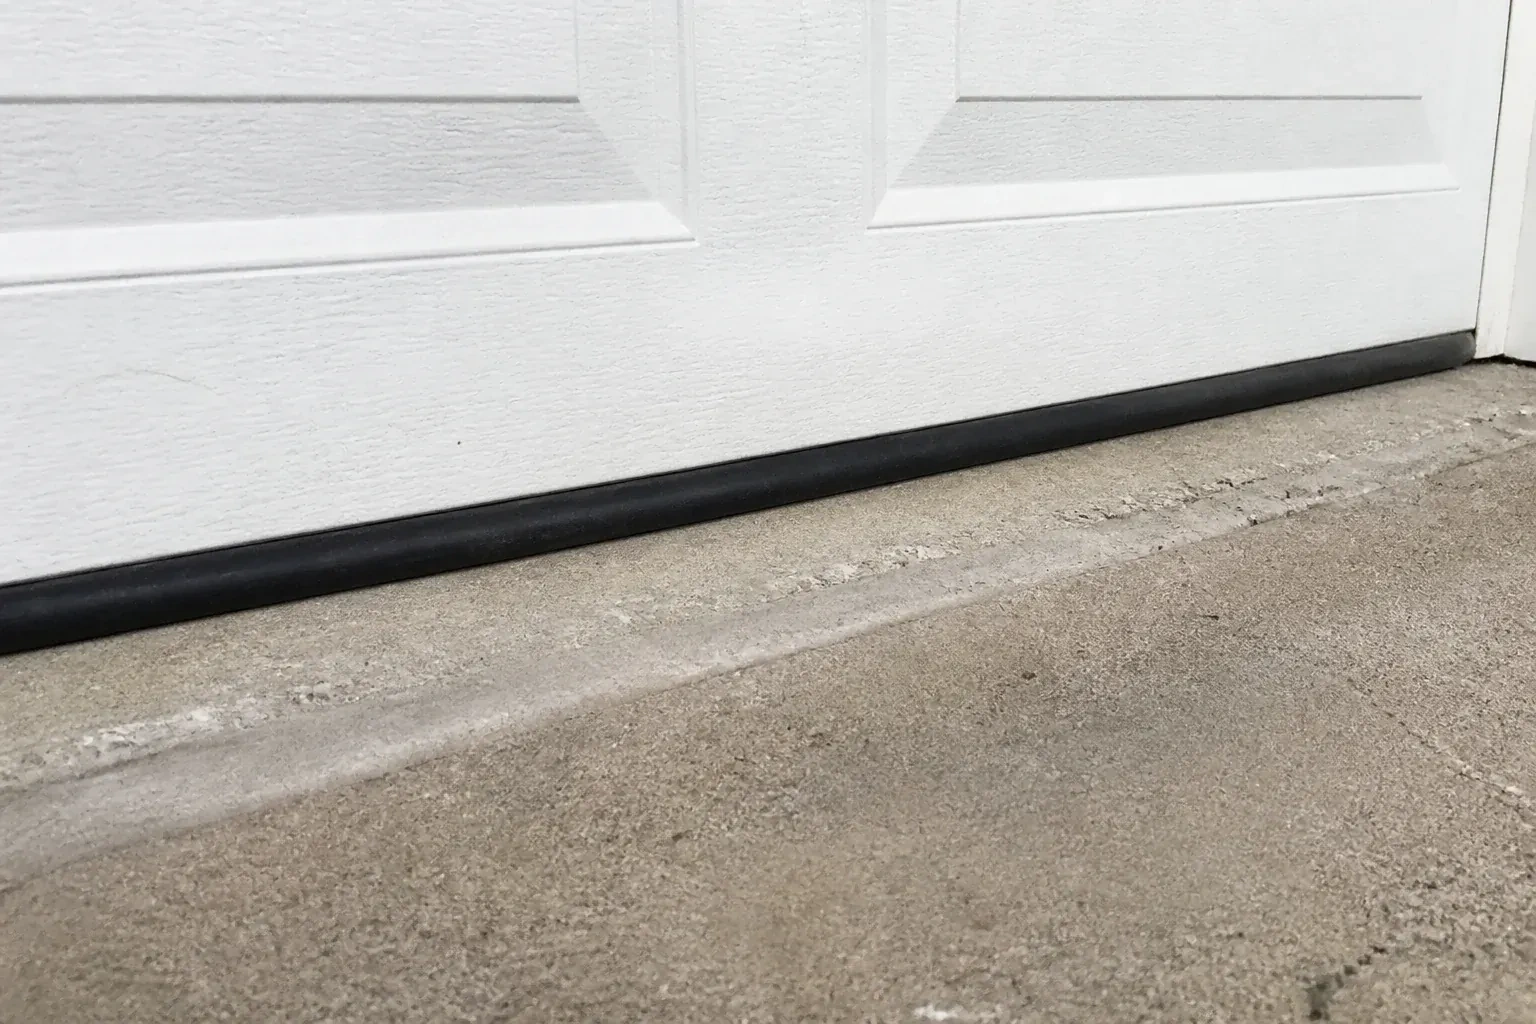
How the visit goesThe strip under the door has gone as hard as a hose left out for ten summers. Press it and it does not give; bend it and it cracks. Where the door meets the floor it sits on the concrete without squashing at all.
Garage Door Bottom Seal Replacement
How the visit goes
How the opener meets the floor
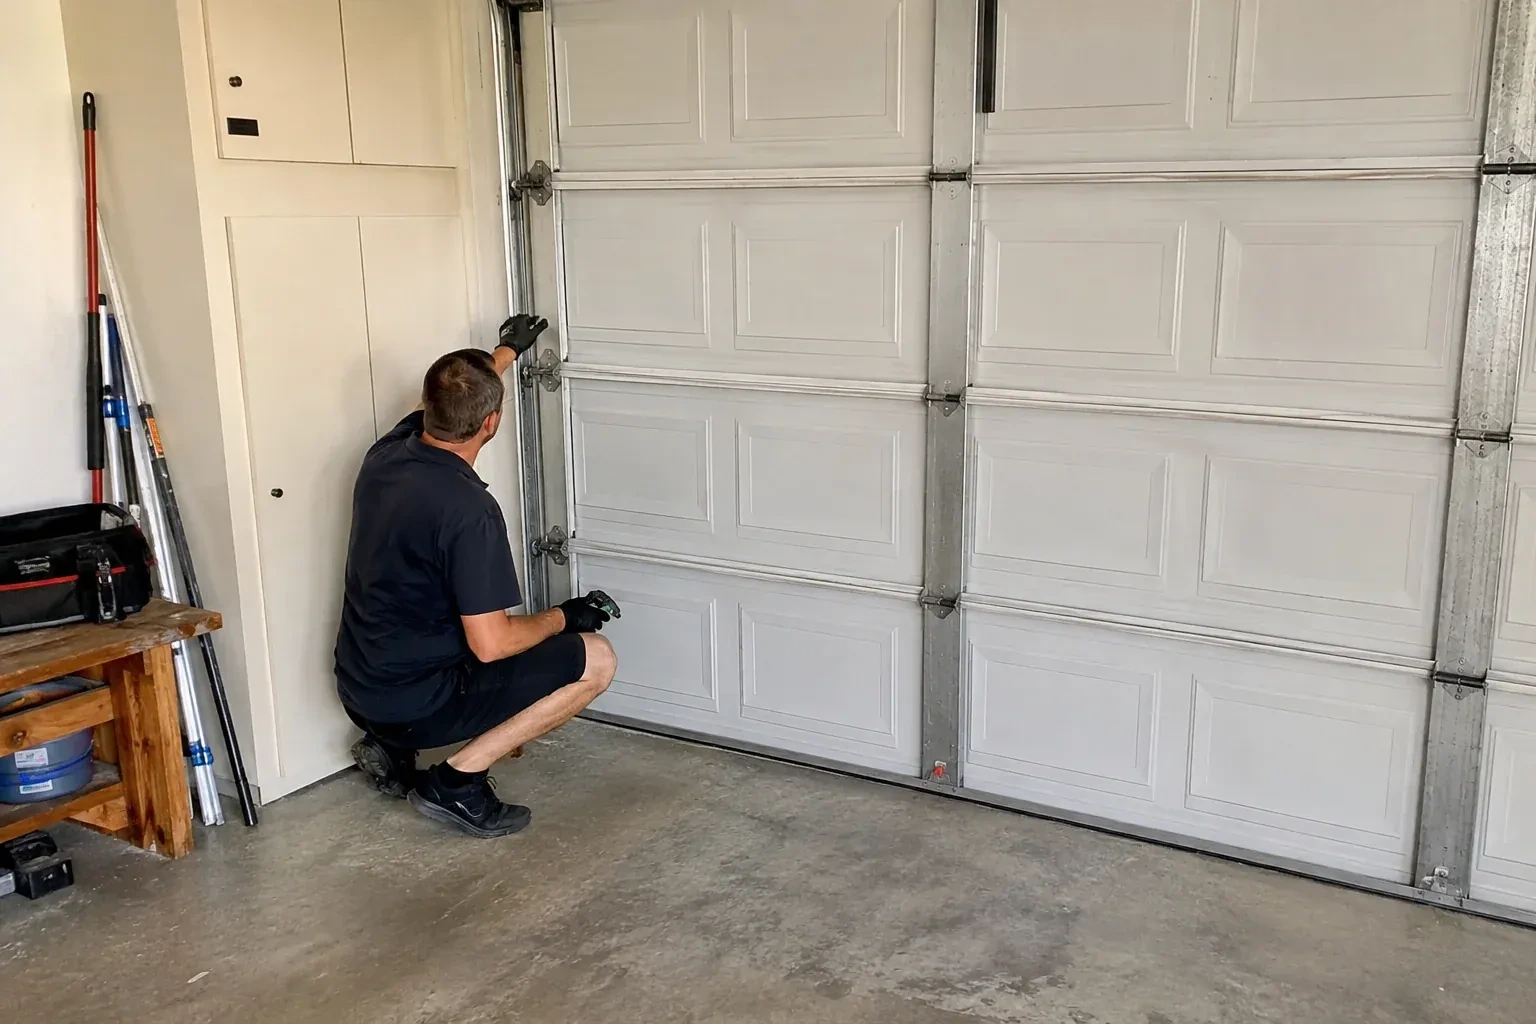
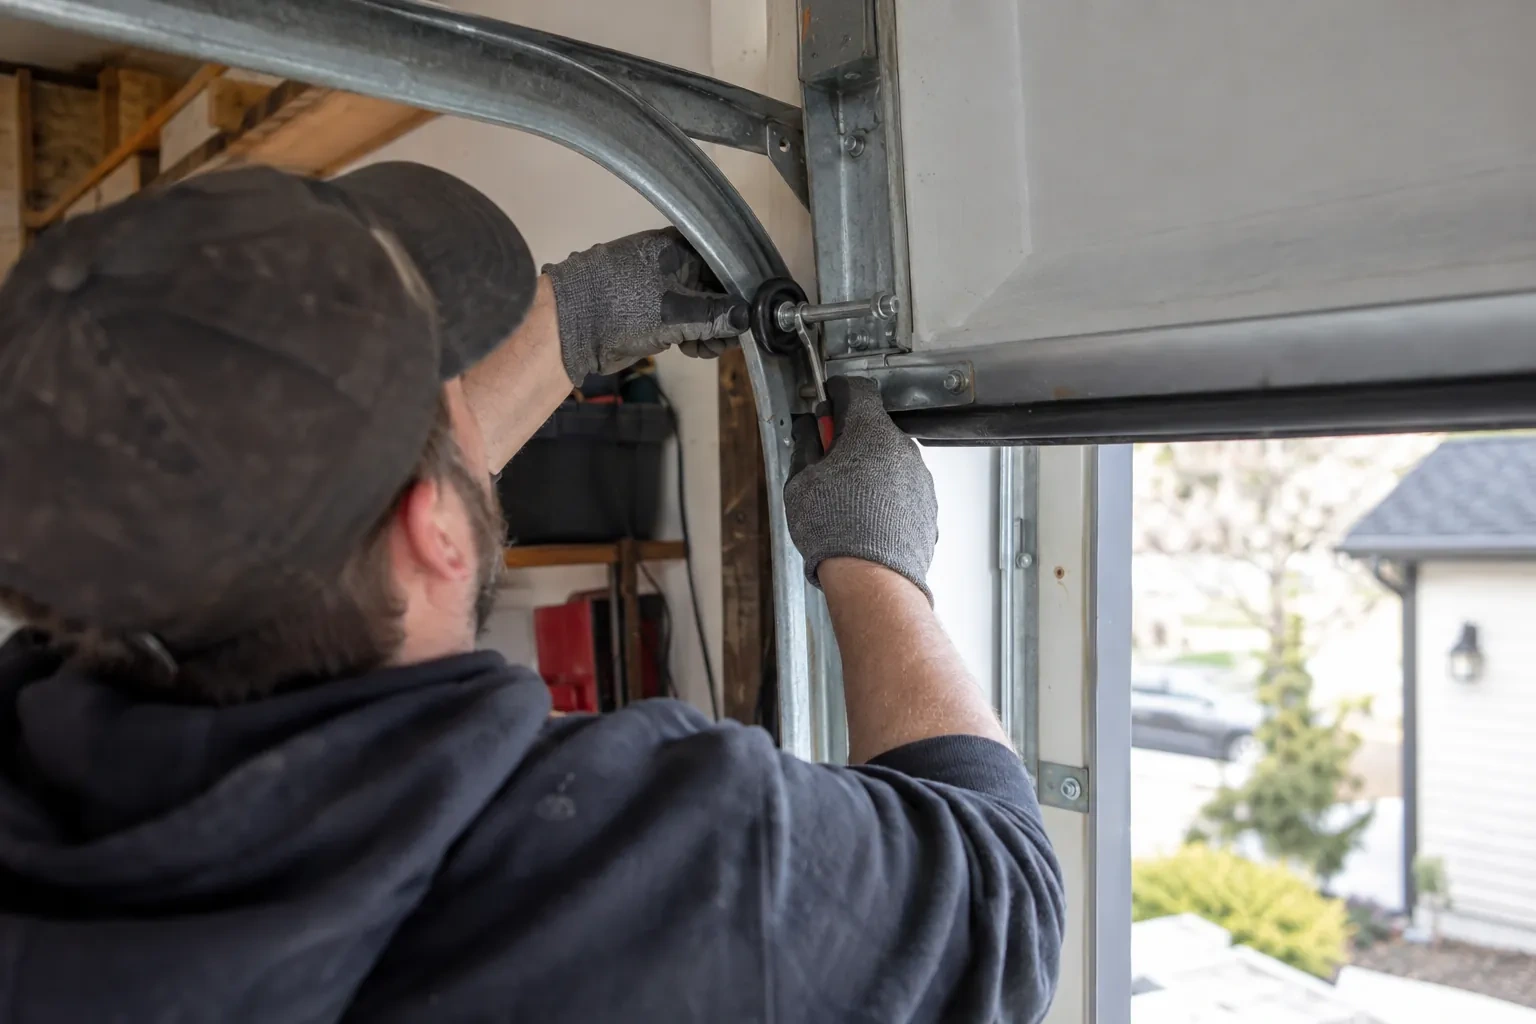
Before the old seal comes off, the technician watches the door close under power. Where the door stops, how firmly it lands, and whether the bottom section flexes as it settles all show how the down limit and force are set. A door that stops short leaves a gap regardless of the seal; one set to press hard flattens a new seal in a season and can bow the section. The current settings are noted so they can be reset once the new, taller strip is in place, and the photo eyes and reversing behaviour are checked at the same time so the finished door is tested against a known starting point.
Taking the old seal out
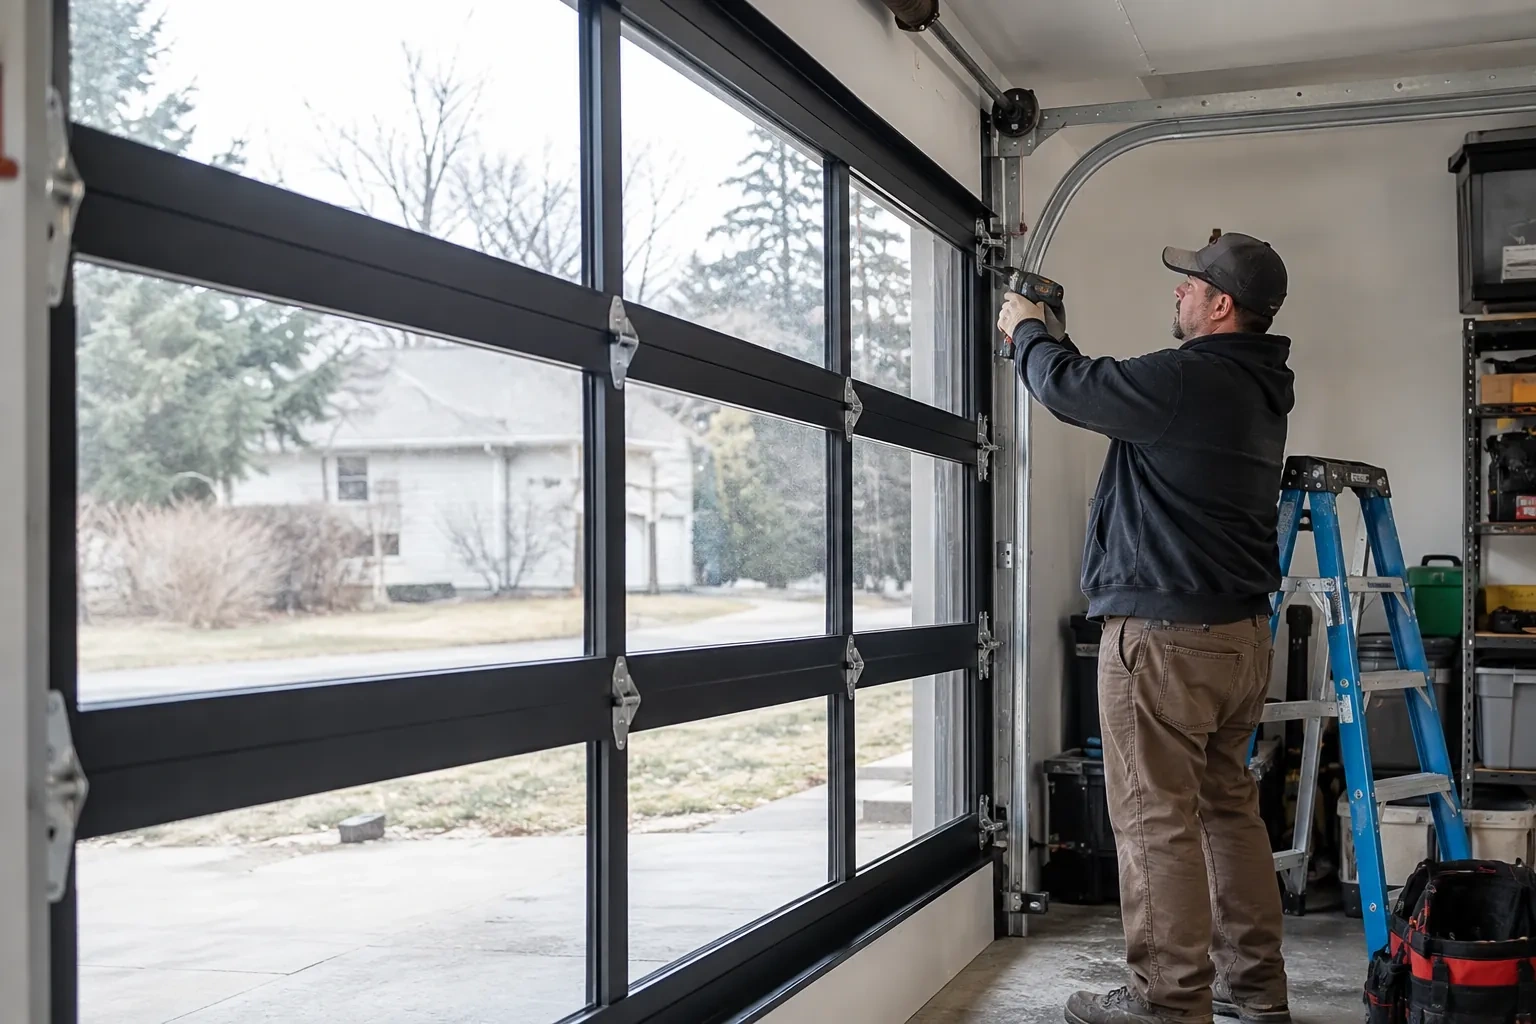
With the door secured, the ends of the old strip are freed from any caps or folds and the seal is drawn out of its channels from one end. A supple seal slides; a hardened one is coaxed with a flat blade and a little silicone, or cut into short lengths and removed a piece at a time. Old nails come out of a wood rail with a claw. The channels are then cleaned of grit, rust flakes, salt crust and any remnants of the previous strip with a wire brush and a scraper, because a clean channel is what lets the new seal feed through without tearing.
The rest of the weather line
With the bottom sealed, any remaining draft points to the perimeter: the vinyl fin on the stop moulding at the jambs and header, and the joints between sections. These were looked over during the visit and anything torn, shrunk or missing was pointed out. Replacing perimeter stripping is straightforward work that can be planned for a mild day. Together with a sound bottom seal and, where the floor calls for it, a threshold, the garage gains a stronger barrier against wind, water and cold on all four edges, and an attached garage can stay closer to the temperature of the house.
Garage Door Bottom Seal Replacement
In the van
T-style bottom seal
Seal end caps
Nail-on vinyl strip for wood doors
Self-drilling retainer screws
Track clamps
Garage Door Bottom Seal Replacement
What affects the quote
Rodent-resistant seal
A profile with embedded stainless mesh for a garage that has had repeated chewing costs more per length than plain vinyl and is offered where the history calls for it.
Access and clearance
Storage, a vehicle that must stay inside, or shelving against the bottom of the door slows the work. A clear metre inside the door makes the visit shorter.
Retainer replacement
If the aluminum or plastic retainer is bent, spread open or corroded, a new extrusion, fasteners and the time to fit it straight along the rail are added as their own line.
What to have ready
- Does the door stop short of the floor or reverse before it closes?
- Does the driveway slope toward the garage, or does water pool at the door?
- Is the door a single or a double, and roughly how wide?
Garage Door Bottom Seal Replacement: questions
QuestionsHow long should I allow for the work?
Plan on an hour or two for a straightforward replacement on a standard door, including the inspection and the opener reset. A retainer replacement, a hardened seal that has to come out in pieces, a wood door with a nail-on strip or the addition of a threshold seal each add time. The technician will give you a realistic window once the door has been looked at.
Should the side and top weatherstripping be replaced at the same time?
It is worth having them looked at while the technician is there. The vinyl fin on the stop moulding around the jambs and header shrinks, tears and hardens on the same schedule as the bottom seal, and a draft that survives a new bottom seal usually comes from the sides. Doing the perimeter in the same visit saves a return trip and leaves the door sealed on all four edges.
Does the opener need adjusting after the seal is changed?
Usually, yes. A new seal is taller than the flattened one it replaces, so the door reaches the floor sooner. Left alone, the opener either presses too hard and bows the bottom section or senses the resistance and reverses. The technician resets the down limit so the seal compresses gently, checks the force, and runs the reversing test with a 38 mm (1.5 in) solid object or a 2x4 laid flat under the door so the safety features still behave as they should.
Related services
- Garage Door Tune-UpYou pulled the red cord to lift the door by hand during a power cut and it felt like lifting a car.
- Off-Track Garage Door ResetA delivery van backed into the shop's overhead door this afternoon.
- Garage Door Panel ReplacementYou misjudged the last metre of the driveway and felt the bumper meet the door.